Kindergarten Teacher Blog
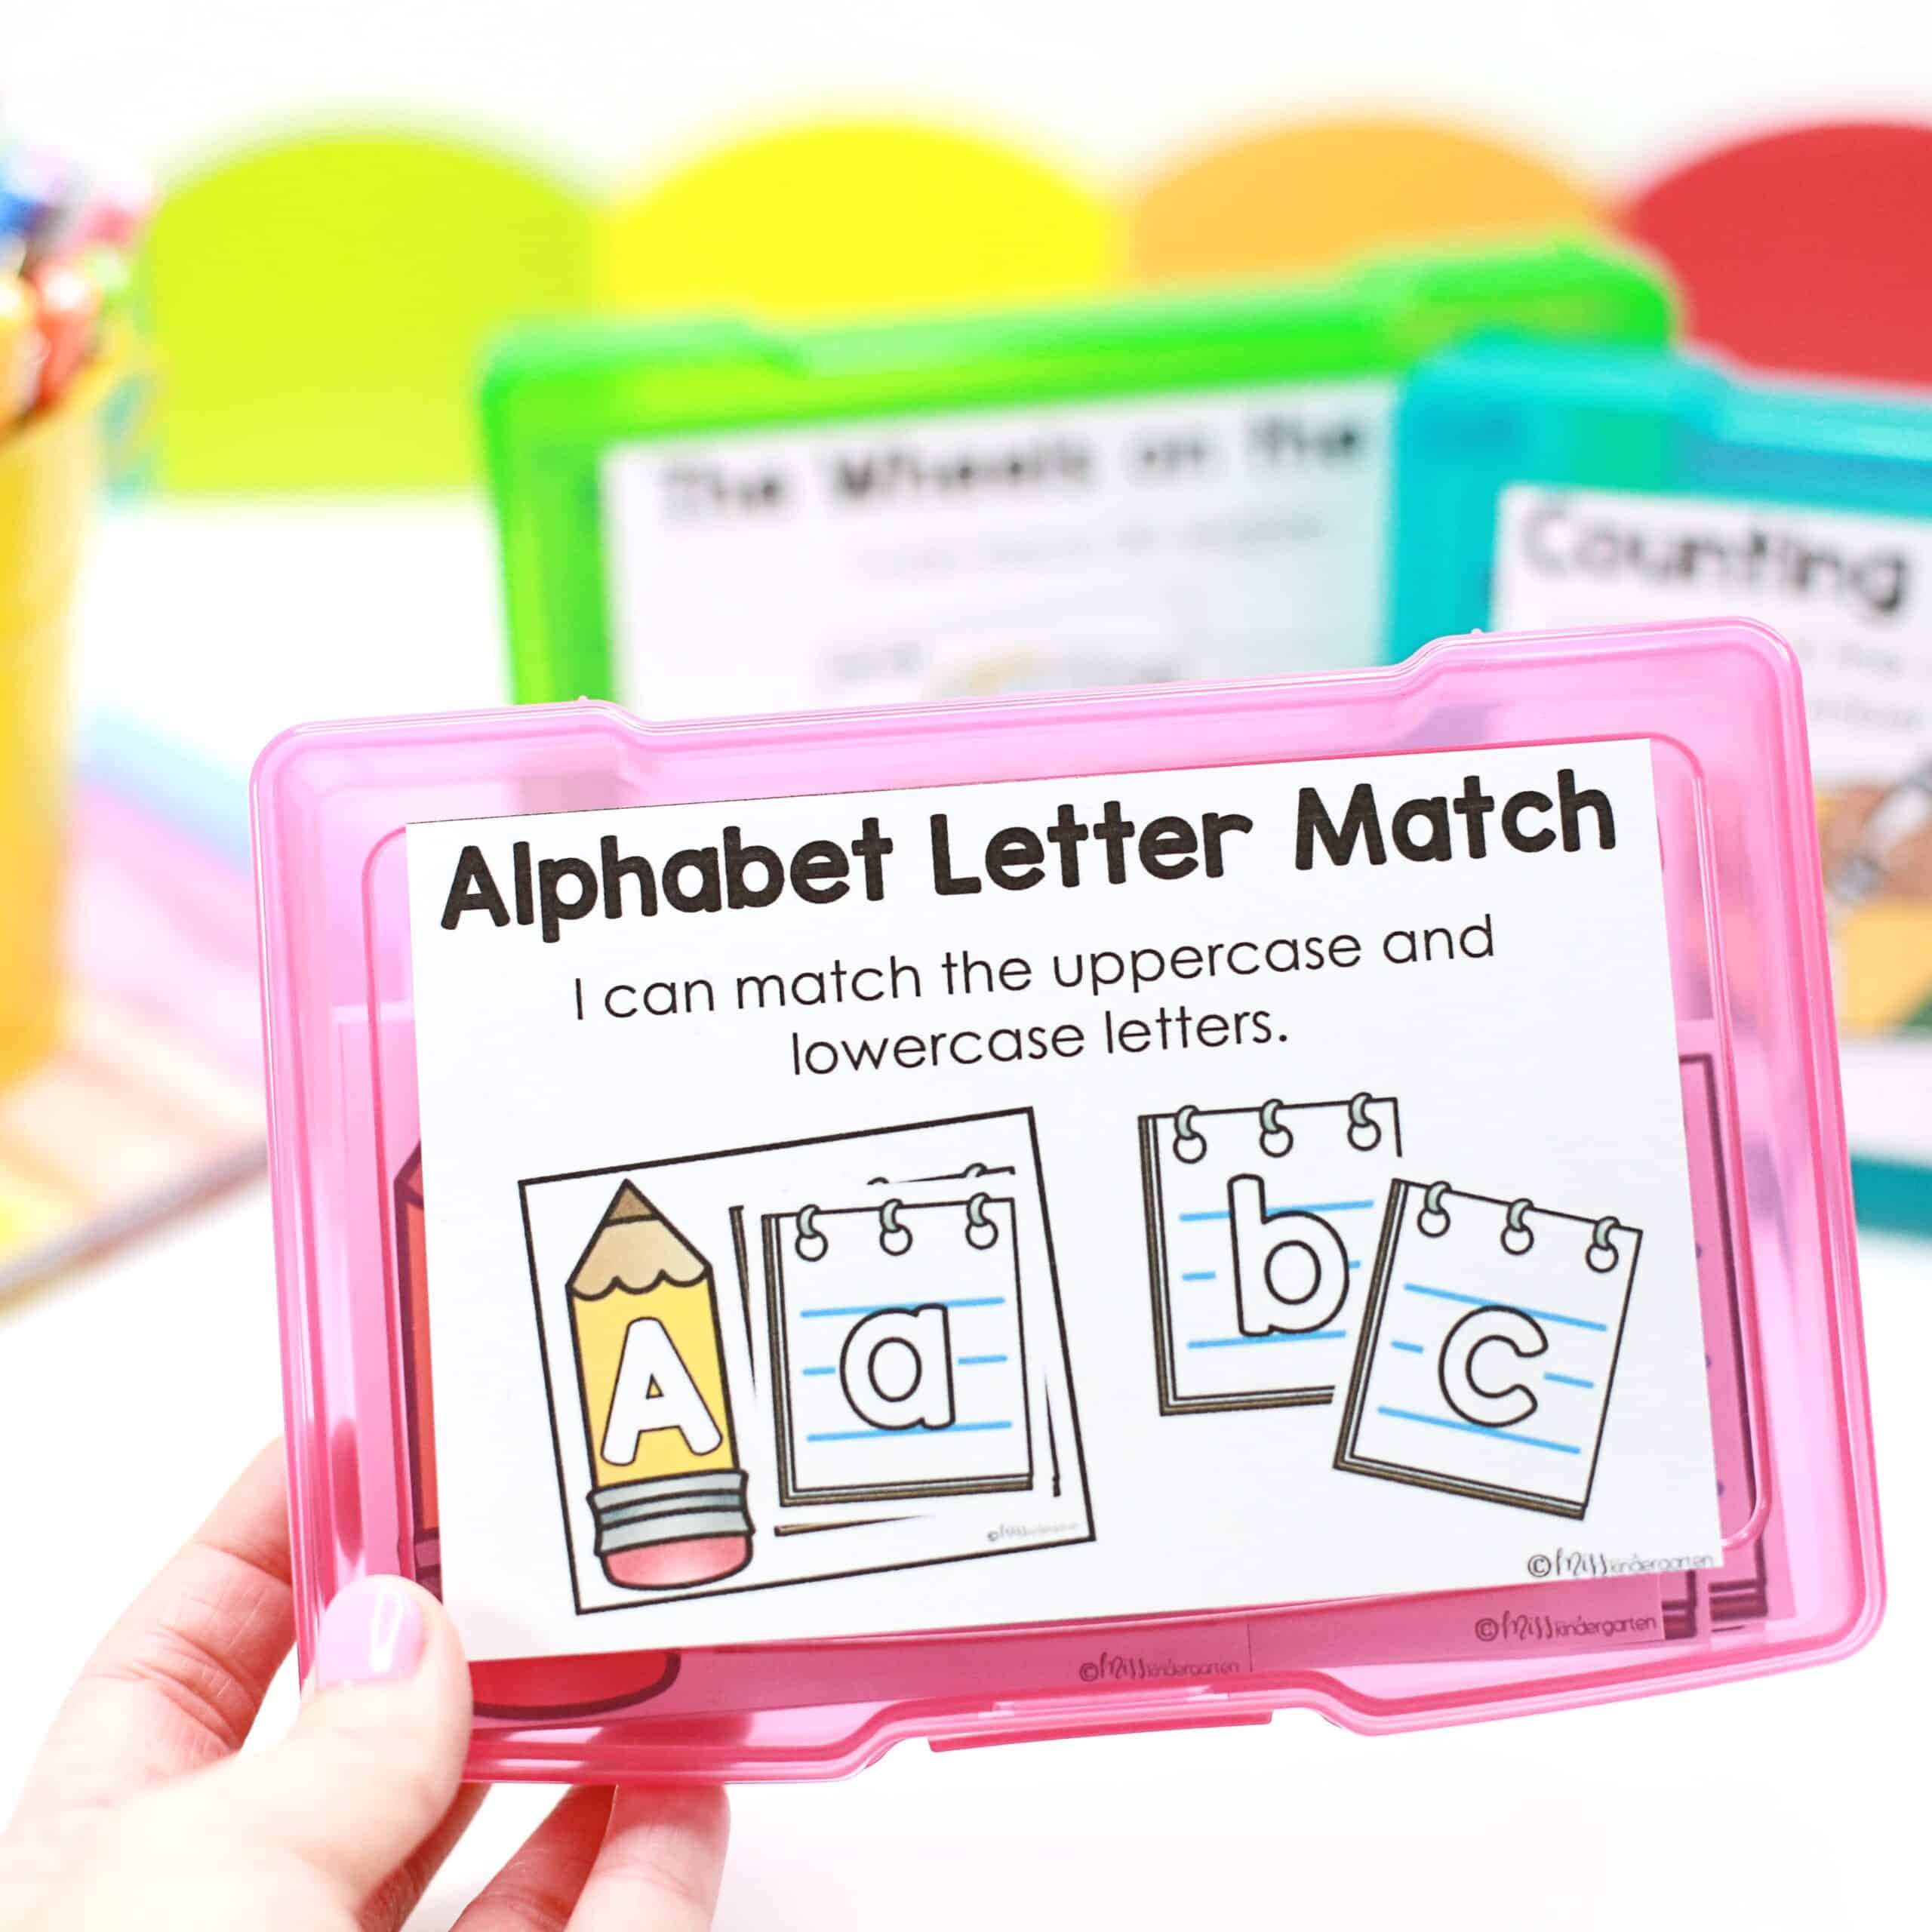
Free Centers
Engaging, hands-on centers that help your students practice important kindergarten skills while building fine motor strength! Start your year off planned and prepped with these free centers!You may also enjoy these posts!

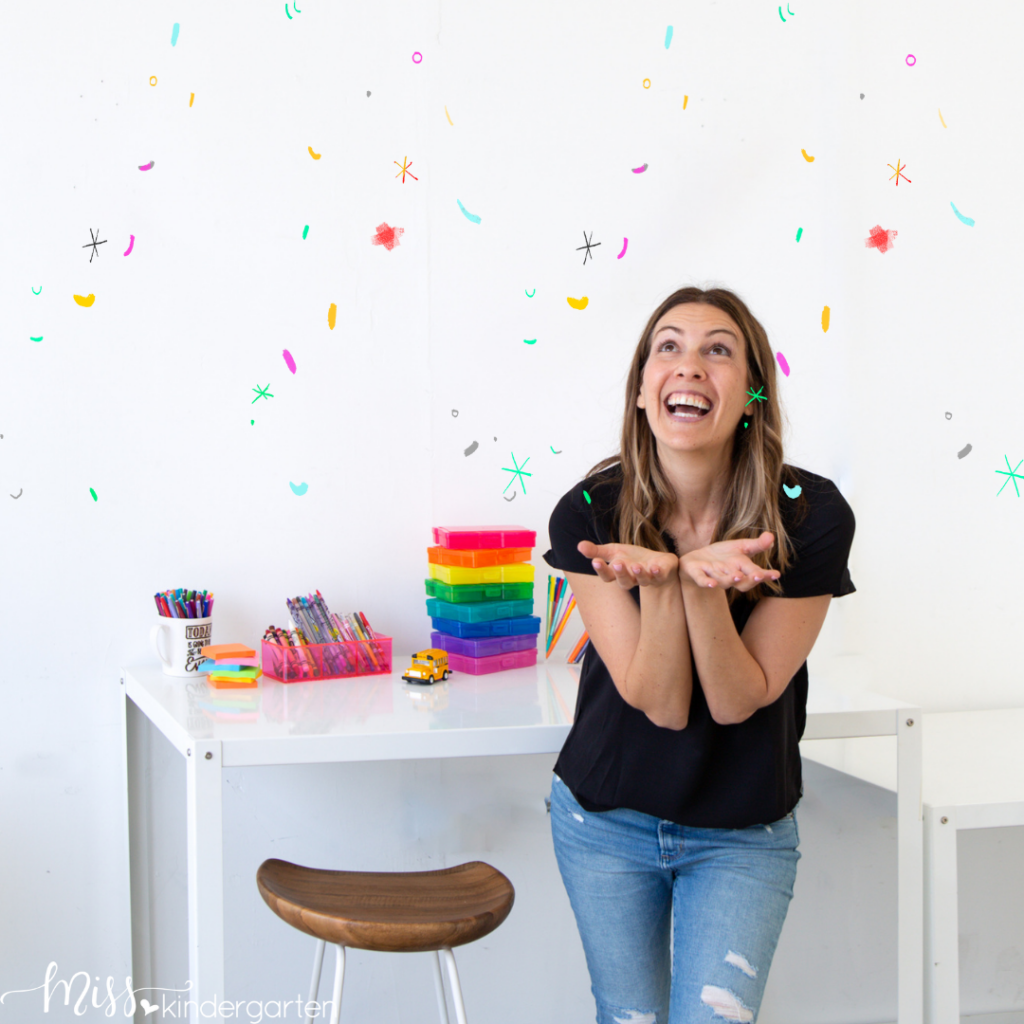
Hello, I’m Hadar
Welcome to Miss Kindergarten. I’m so happy you’re here!
If you are looking for hands-on, engaging kindergarten activities, you came to the right place! I’m here to save you time by sharing tried and true kindergarten resources, and hopefully spark some ideas for your own kindergarten lesson plans!
Whether you need ideas to teach reading, sight words, math, or even some fun crafts, I have you covered. My ultimate goal is to help passionate educators and parents to young kids gain their valuable time back!
If you want to stay connected with Miss Kindergarten, please follow me on social media and be sure to sign up for the newsletter below.
Follow Miss Kindergarten on Instagram!
Fun ideas at your fingertips! Get daily inspiration, tips, and ideas, plus special sales and freebies! Connect with Miss Kindergarten on Instagram.


