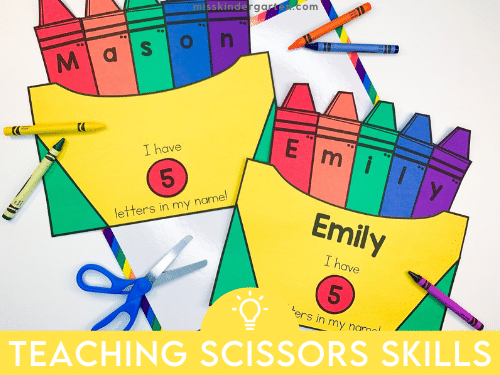
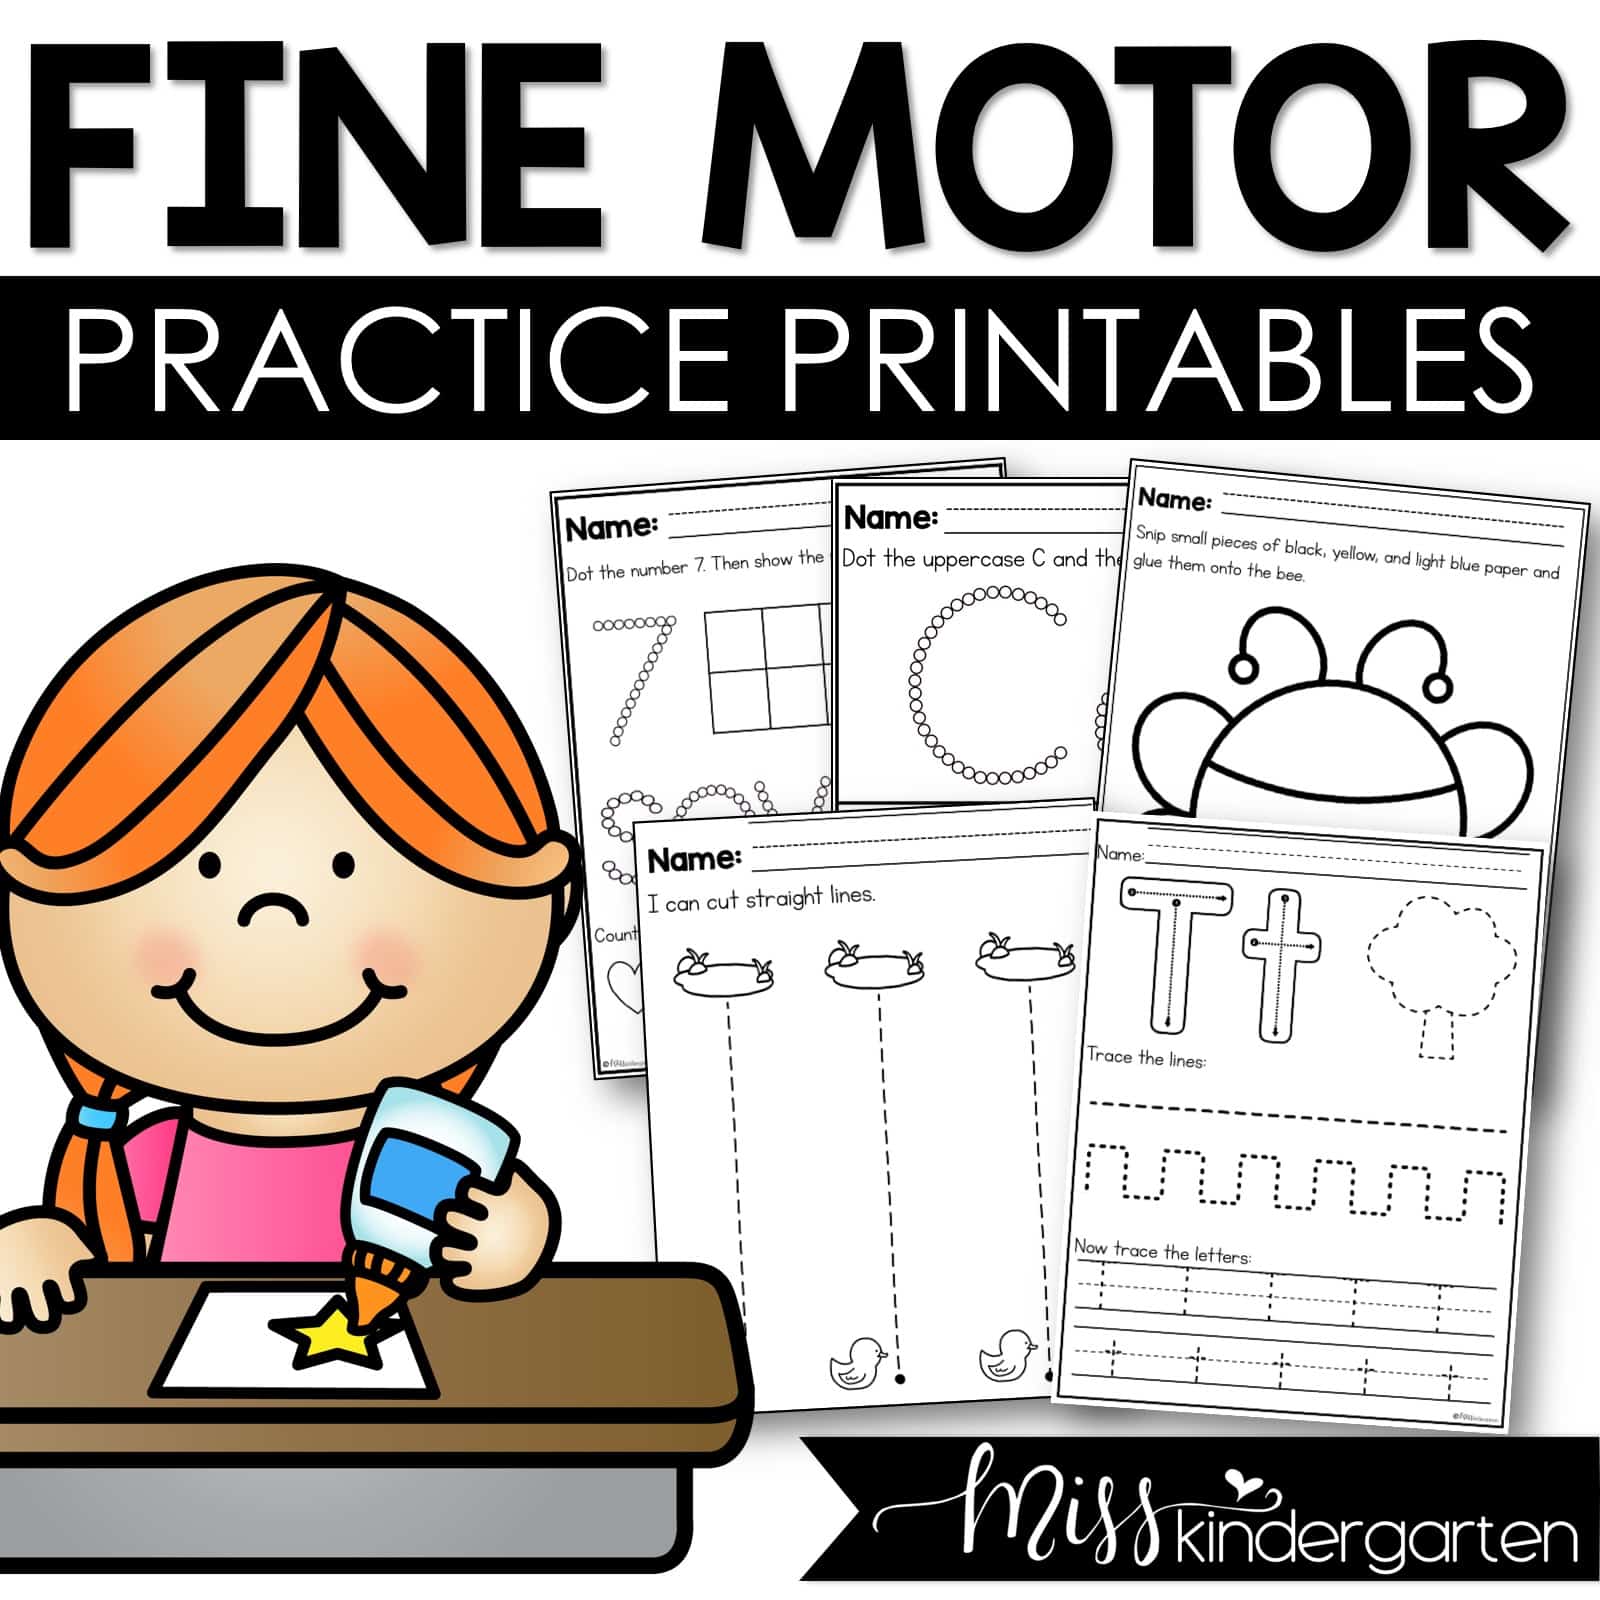
6 Tips and Ideas for Teaching Scissor Skills
Have you ever noticed that one area that our young students need lots of practice with is scissors? I think part of this comes from the fact that many, maybe even most, of our students don’t use scissors at home. Introducing and teaching our students scissor skills can seem like a daunting task, but it doesn’t have to be. Here’s some tips and ideas from my classroom to yours!
1. Don’t Start With Scissors
I know that sounds crazy, but before you ever put scissors into the hands of your students, spend some time on activities that will help them develop the muscles in their hands. Those hand muscles are an important part of using and controlling scissors.

You know those first few weeks of school when you are focused on teaching procedures? Well, this is the perfect time to put in some extra activities for developing hand muscles. Many of these activities are easy to incorporate into centers, morning work, or whole class activities.
Here’s some great activities for strengthening hand muscles:
- Play dough
- Lacing beads
- Paper tearing
- Tongs, tweezers and clothes pins
- Snapping and removing building blocks
- Peeling and placing small stickers
All of these fine motor activities help to build up those hand muscles that are so important for scissor skills, writing, and so much more!
2. Work on Following Directions
In the classroom, we all know that when students follow directions everything runs a little bit smoother. Some activities, like working with scissors, can have more severe consequences when students don’t follow directions. It is worth spending a little time developing a strong foundation in following directions before starting scissor work.
Again, this can begin on the first day of school. As we learn about school and classroom procedures, I like to have time where we talk about the importance of following directions. We talk about how it will help everyone in the classroom to be safe, learn more, and have more fun when we follow directions.
Practice following directions in a variety of ways. Those first weeks of school are the perfect time for practicing following directions as you learn classroom procedures. But it’s also fun to make a game out of following directions practice. Games like Simon Says are a fun and silly way for students to follow directions.
3. Lay the Foundation
When you are ready to introduce your students to scissors start with the basics. The first lesson I do with scissors always focuses on two things: 1) scissor responsibility and 2) how to hold scissors.
I make a BIG deal about scissors when I introduce them to my students. I let them know that using scissors is something we trust “big kids” with. I talk about how well they have done with following directions and how this has led to me being able to trust them with scissors.
We also talk about what scissors do. After we brainstorm different places we have seen scissors being used then we talk about how we will use them in our classroom. I explain to the students that although scissors can be used to cut many different things, in our classroom we only cut paper. And then . . . I go through all the things we don’t cut. We don’t cut our clothes. We don’t cut our friends’ clothes. We don’t cut our hair or our friends’ hair. And . . . we don’t cut our skin or our friends’ skin. I like to get ahead of those common scissor temptations.
4. Start with Scissor Skills Basics
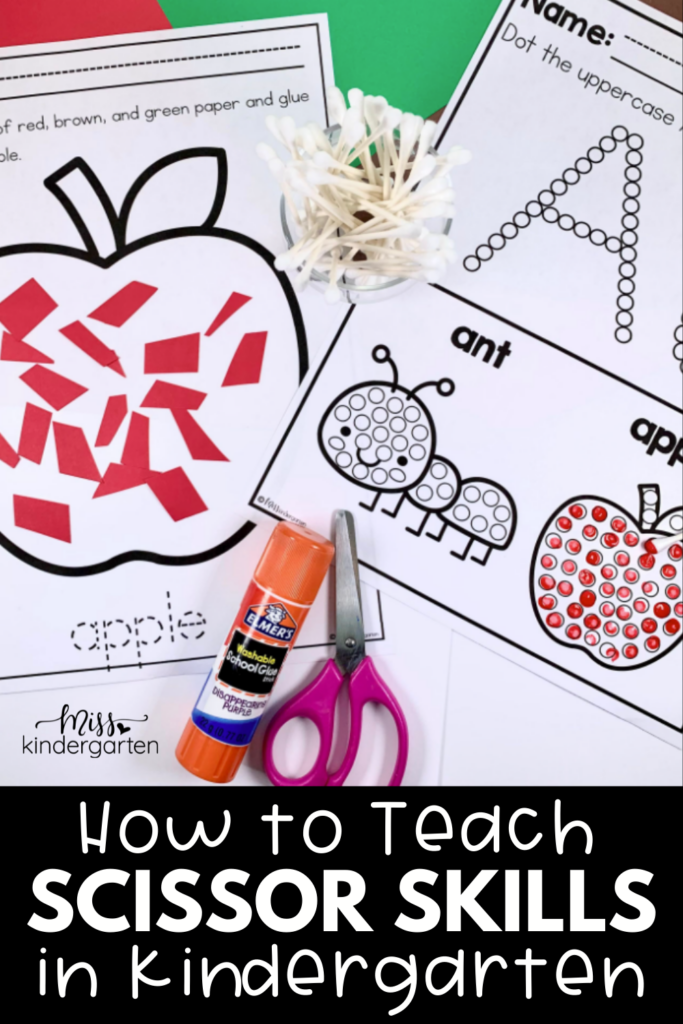
It’s finally time to give each student their scissors. The very first thing we do is look at the scissors and identify the different parts. We make sure to notice the straight blades and talk about how they are closed. We also look at the two finger holes and notice that they are different sizes.
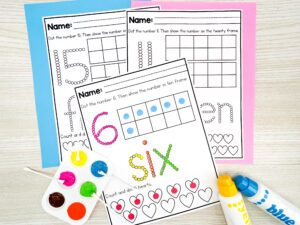
Scissor Skills Cutting Practice Worksheets
Then we learn the proper way to hold the scissors. We talk about where the thumb goes and where the other fingers go. After I model, we practice. As we do this I walk around the room and check each student’s hand to make sure that we correct any issues from the beginning.
Next, I show my students how to open and shut the scissors. Without any scissors, we first practice opening and closing our fingers just like we would if we were cutting. Then I introduce my students to our cutting chant: “Open, Shut, Open, Shut. This is how we cut, cut, cut.”
We practice saying our chant while practicing with our hands. Then we pick up our scissors (reviewing our finger placement) and practice opening and closing the scissors.
5. Add Paper
Now it is finally time to add paper into the scissor skills activities. The first time I lay out small squares of construction paper. I show students how to hold the paper on the edge with one hand leaving plenty of room for the scissors. Then I remind them that wherever the blade is the area that will be cut when they close the scissors. Then we open our scissors, put the paper inside, and close them making our first cut. I let students experiment with random cuts as we say our scissor skills chant.
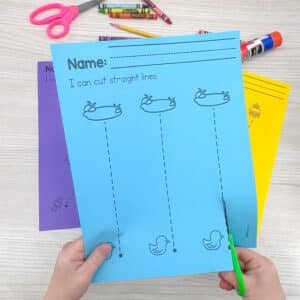
The next day I introduce the concept of cutting on lines. We talk about how we line up the scissor blades with the line we want to cut. We open the scissors, line up the blade and then close the scissors. We begin by doing single snips along a sheet of paper. I like to take a 1/2 sheet of paper and draw short lines on it. Each student practices lining up their scissors and cutting on the line.
The next step involves cutting on a line that is longer. Here students will need to make a cut, open their scissors and then move their hand forward (or move the paper) so they can make the next cut. We practice this process again and again as we work towards cutting all the way across a piece of paper.
As students progress in cutting lines, I also show them how to turn their hand and turn the paper to cut a line that turns. We also practice cutting lines that are curved or wavy. We practice cutting out simple shapes. We just practice cutting. Lots and lots of cutting.
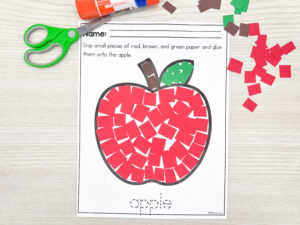
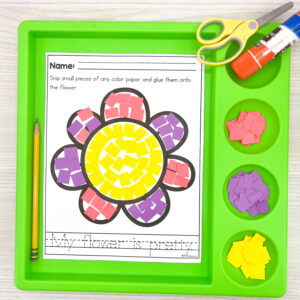
6. Using Scissor Skills with Crafts
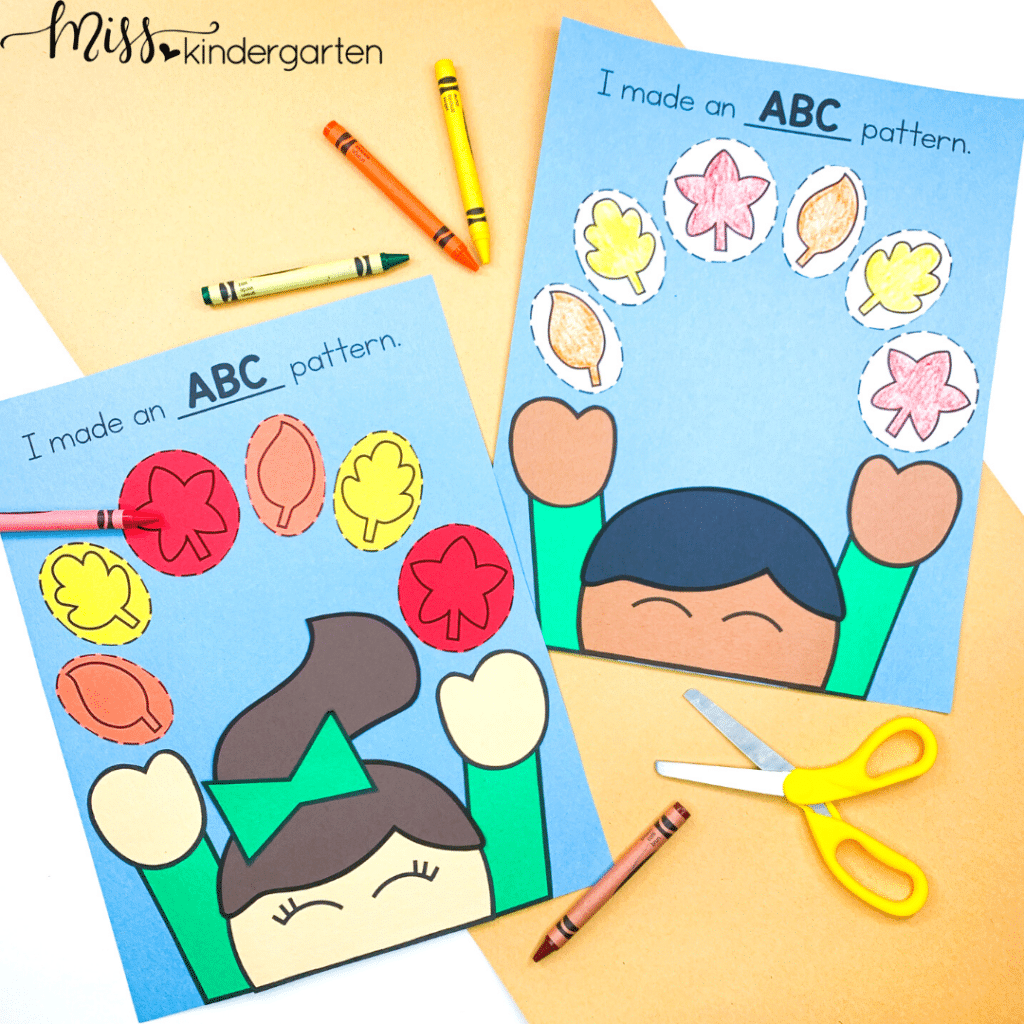
Simple crafts are a really fun way to help students learn to cut with scissors. And . . . students love that they create something! These simple crafts are a great way to connect academic learning to scissor skills. And since scissor skills aren’t part of the teaching standards in most schools, it is a great way to teach this important skill, and other fine motor skills, while also covering the standards you must teach.
Find out more about how I use crafts in the classroom:
- 5 Reasons Crafts Are a MUST in Kindergarten
- Developing Fine Motor Skills With Crafts
- Kindergarten Crafts to Use This Fall
- Easy Spring Crafts for Kids
Save These Tips for Teaching Scissor Skills
Be sure to save this post so you can come back to it later! Just add the pin below to your favorite board of kindergarten ideas on Pinterest. You’ll be able to quickly find these tips and resources when your students are ready to start using scissors.