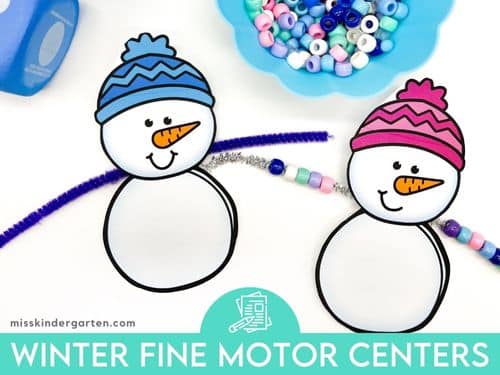
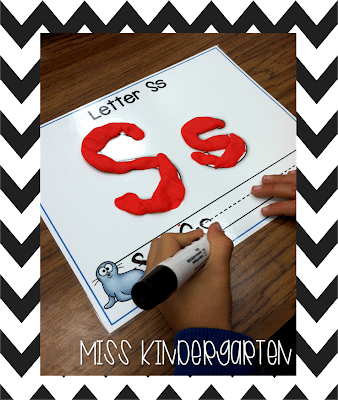
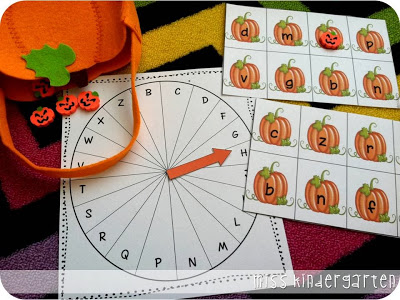
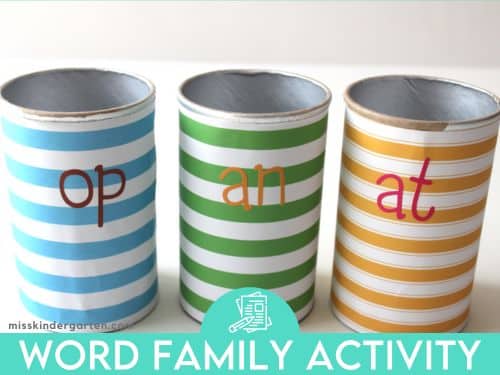
DIY Word Family Activity
It’s helpful to use a variety of word work activities to keep literacy practice fresh and engaging for young learners. A well-stocked teacher toolbox of hands-on activities can go a long way in helping kindergarten students become more confident readers. In this post, I’m going to share a DIY word family activity that’s perfect for literacy centers.
I love, love, love shopping at Michaels craft stores and I’m not lying when I say I visit the store once a week 😉 {even more in the summer!} They have the absolute best assortment of craft supplies and you all know I’m obsessed with crafting! Whenever I need a new word work activity or center activity, I head to Michaels. I usually get sucked in and buy way more than I need!
Thankfully, this DIY word family activity did not cost a lot!
How to Make Word Family Cans
Several months ago I found this great idea from Shari Sloane about how she made her own word family activities that I knew would be perfect for our word work centers. I wanted to recreate it for a while, I just never had enough time! You know how that goes!

Step One: Gather Supplies
During one of my many trips to Michaels, I finally picked up the supplies I needed to create these cans. Here’s what I got:
- 3 pieces of scrapbook paper
- matching foam colors
- alphabet stickers
- mod podge
The project also requires a small can, so I picked up some mini Pringles at Target. I actually don’t like Pringles, so I made my husband eat them {don’t worry, he didn’t complain ;)} so I could use the cans. You will also need a pair of scissors and double sided tape.

Step Two: Cut Down Paper
Cut paper down to size and tape down one side to the can.
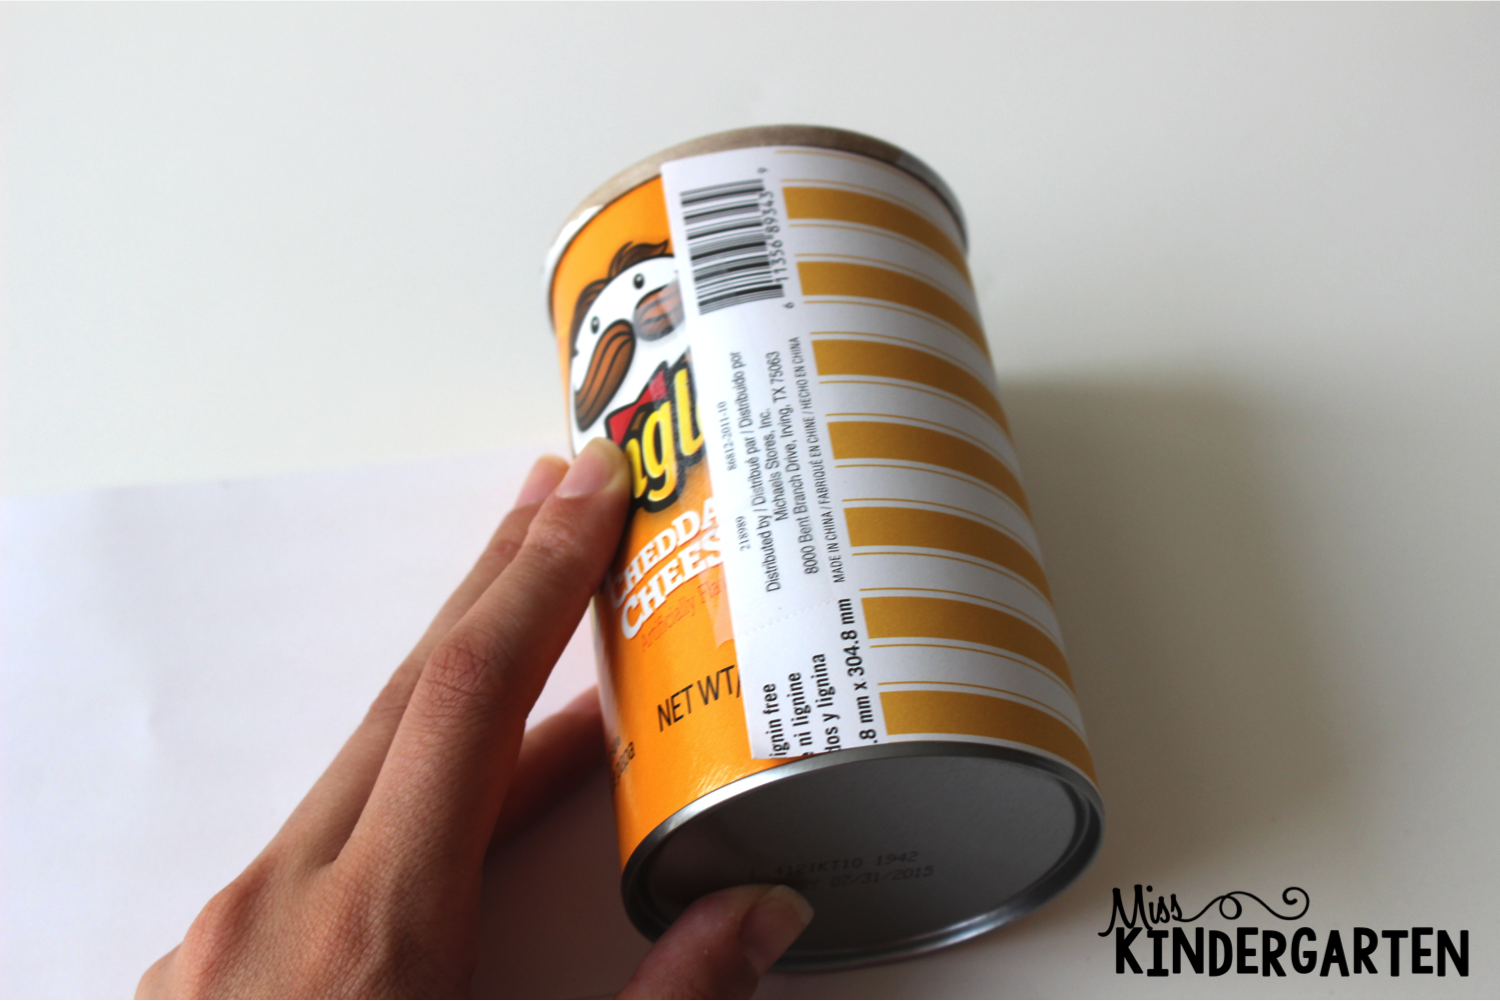
Step Three: Wrap the Cans
Use double sided tape along the top and bottom and roll can over the paper. I cut the scrapbook paper to fit the cans and started to adhere it to the Pringles can with mod podge, but it was coming out too bumpy for my liking. I switched over to double sided tape and that worked much better! I also used a little piece of tape to hold the paper in place so that it made it easier to wrap.
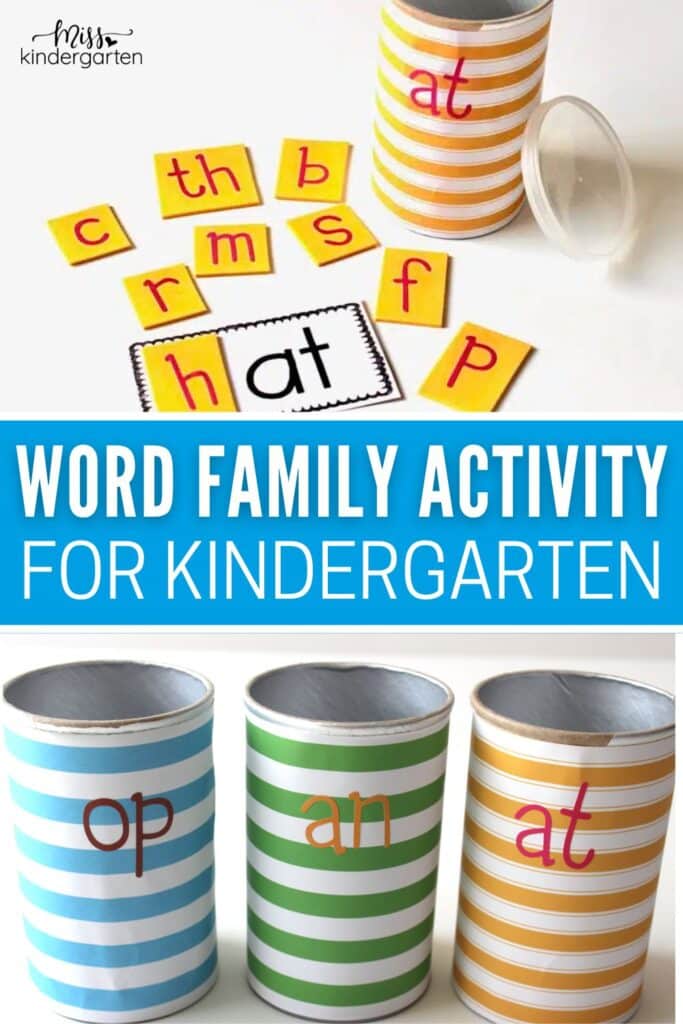
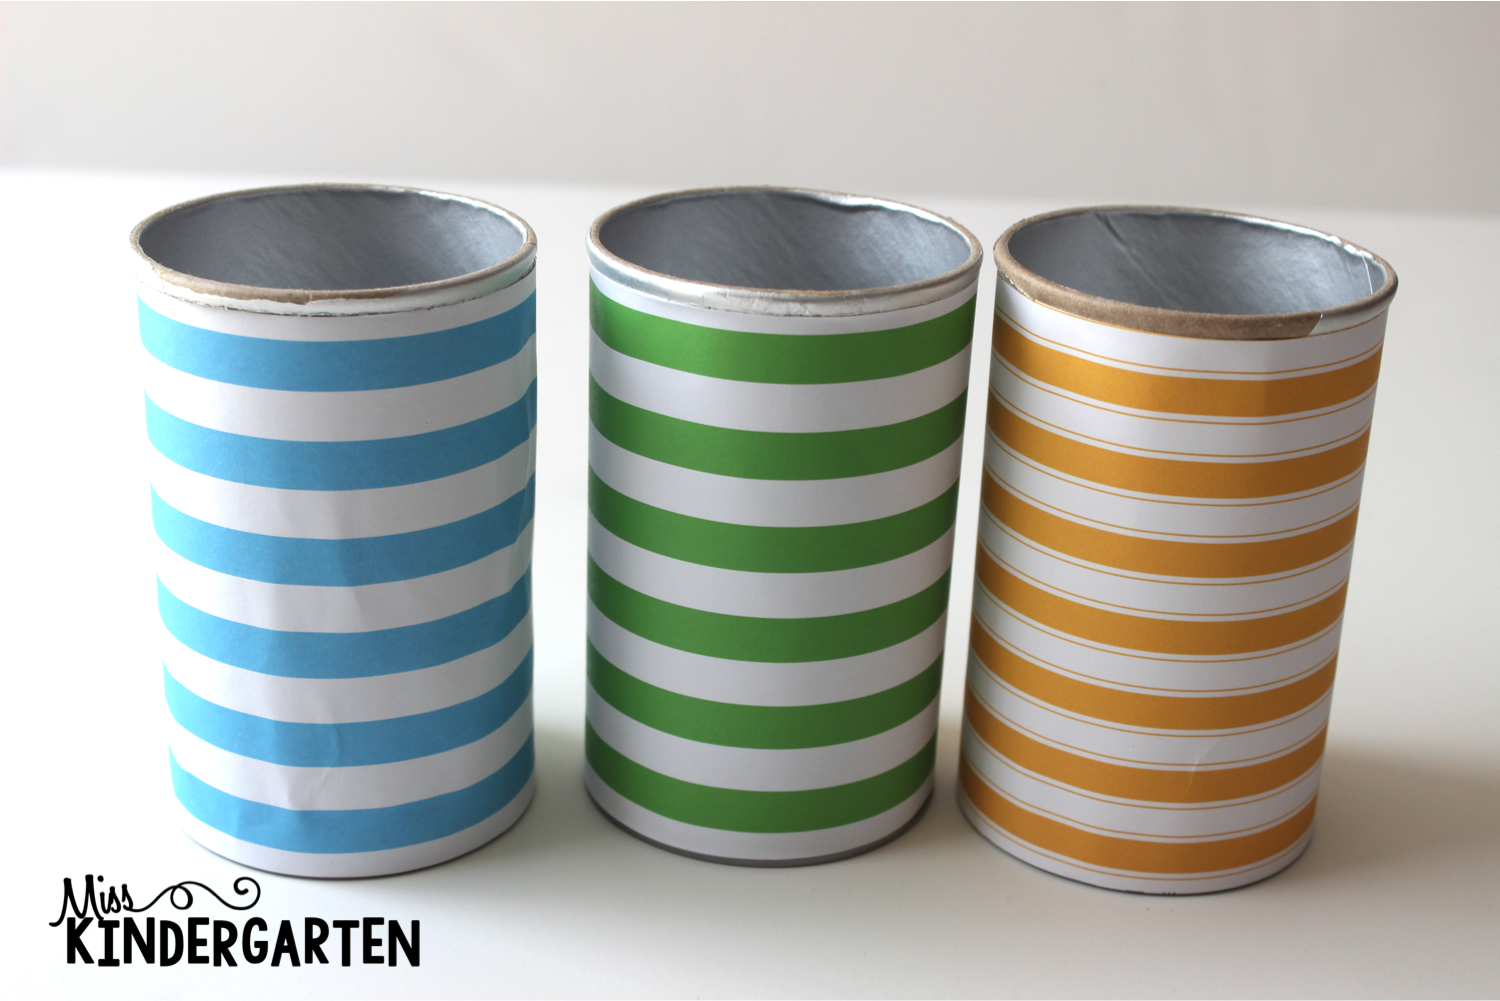
Here’s what the cans looked like after they were all wrapped. See how the blue one was bumpy? That’s what happened with the mod podge. The green and yellow cans are much smoother.
Step Four: Label Cans
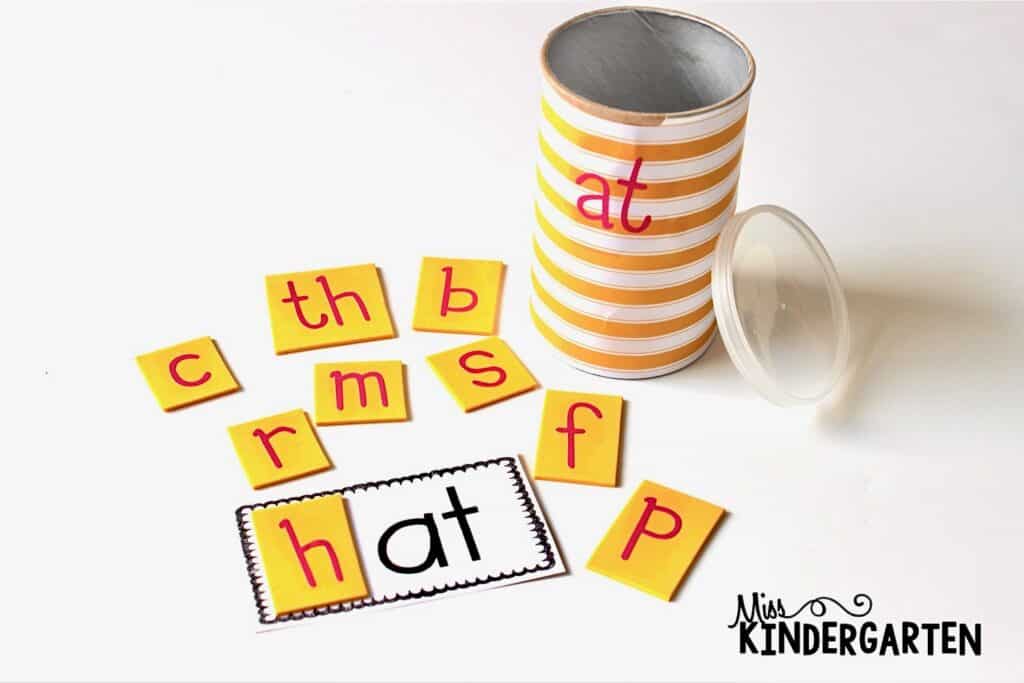
After the cans were wrapped, I used the letter stickers to label the cans with the word families we were working. I also used the stickers to make letter tiles. The beauty of using the sticker letters is you can easily change out the word families you want your students to work on. You can also do this with magic e words, vowel teams, blends, or digraphs. The possibilities are endless!

Step Five: Create Letter Tiles
I cut up the foam to make the letter tiles. To help keep the letters organized with the correct word family, I matched the foam letters with the same color I used on the cans.
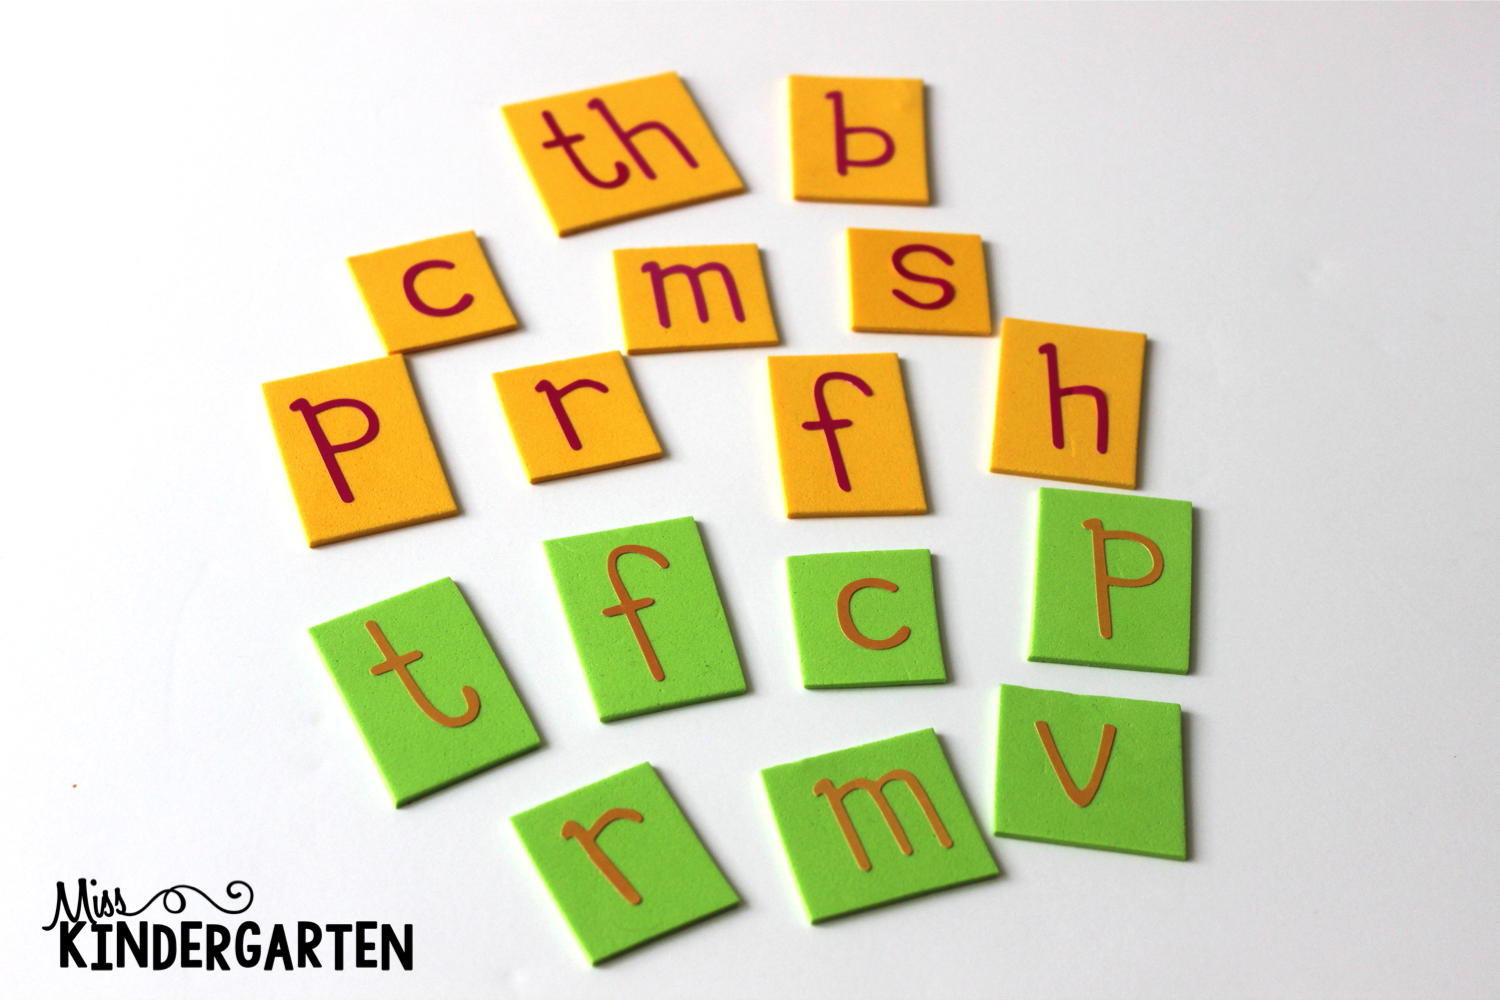
Finally, I sealed the letter tiles with a layer of mod podge so that they wouldn’t peel off. It took about an hour to dry.
Step Six: Prep for Centers
I placed a word family mat and letter tiles to build words in each can.
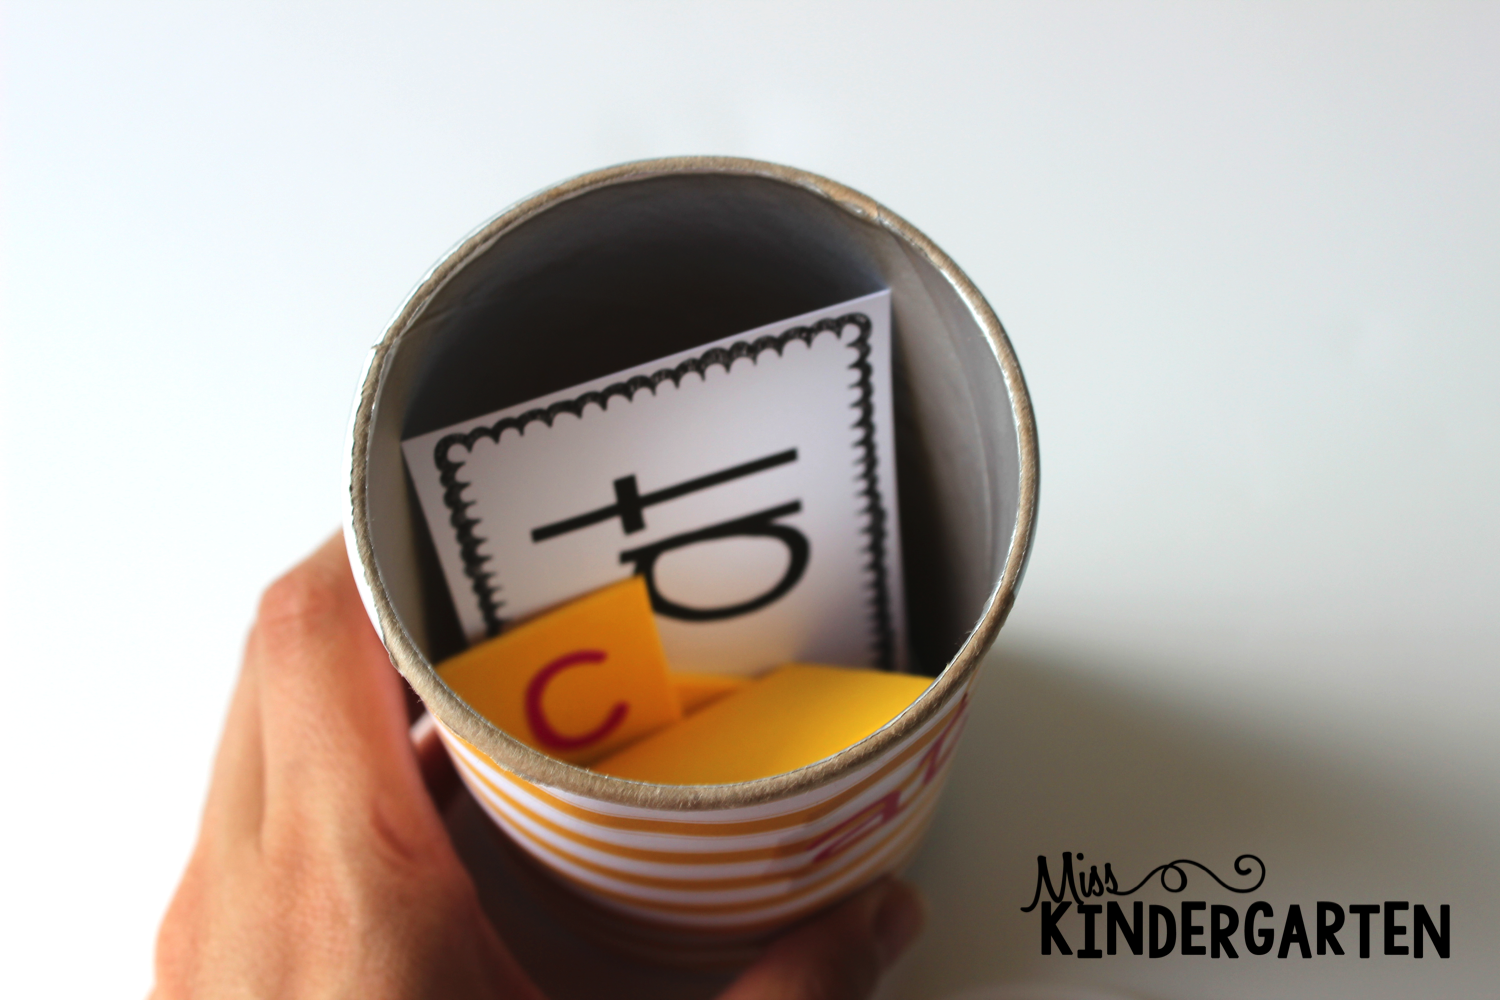
During our word work centers, my students will pull out the word family mat and foam letters to build the words.
This is such a fun, hands-on literacy center, I am so excited to introduce it to my class! Thank you Michaels for always have the best craft supplies!
Word Family Activities for the Whole Year
If you don’t have time to create a DIY word family activity, you might be interested in this bundle of phonics activities for CVC word practice. You’ll be able to add an entire year’s worth of word family activities to your literacy toolbox. Click below to take a closer look at everything included in this resource.
Small Group Reading Intervention CVC Words Activities Phonics Games & Centers
Save This DIY Word Family Activity
Be sure to save this post for later if you’d like to make this word family craft activity for your classroom. Add the pin below to your favorite board of teaching ideas on Pinterest.