Center Organization Ideas and Tips
It’s time to whip out your center activities for some small group fun, but where did you put the supplies? We’ve all been there at one time or another. The time comes to start center activities, but you can’t find what you are looking for. Organizing your centers can seem like a monumental task. After all, as primary teachers we have so many centers and so little storage space. Keeping your center supplies can organized can be a little tricky. Here’s some of my favorite center organization ideas and tips.
Tip 1: Make a Plan
The first thing to do before you actually start organizing is to make a plan. Before you buy a single organization tool or rearrange your room, think about what organization can look like in your space. If you have lots of shelved storage then something that stacks well will work for you. If you have minimal storage and and need to use the top of a counter then consider large bins with centers filed in zip-lock bags.
Another thing to consider is how you use centers in your classroom. Does every center have its own set of supplies that need to be stored together (game pieces, cards, manipulatives) Or, do you have some general supplies like math counters, magnetic letters, and other center tools that students can grab any time?
Finally, think about where you will store centers and supplies that are not being used. Do you have a closet or shelves? What about the top of cubbies or under a table? If you are limited on storage space be creative. Maybe there is a little extra space in a hallway closet or in an unused classroom. Think outside the box and take stock of what space you have.
Tip 2: Start with Containers
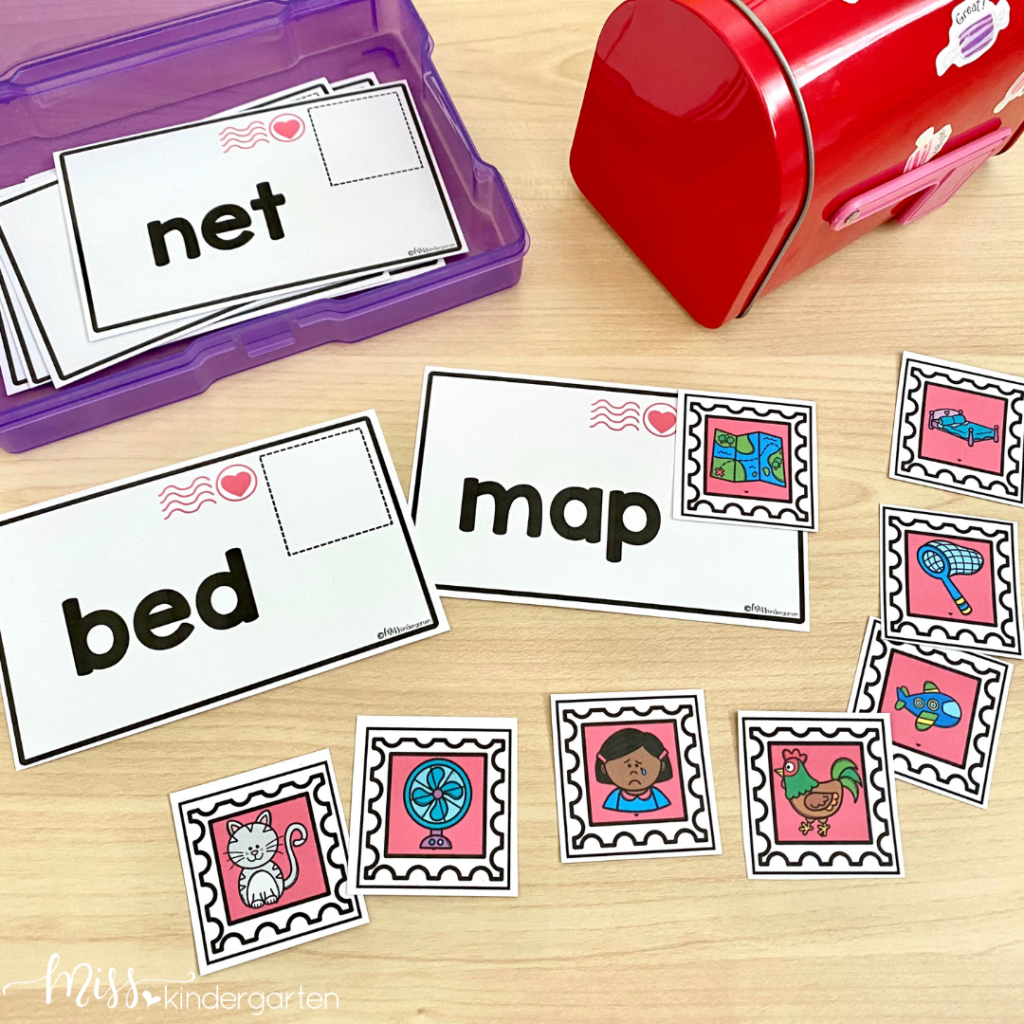
I have found that the best place to start is with center storage containers. There are so many different storage options available. Some of my favorite include gallon zip-lock bags, pencil boxes, shoe boxes, binders with page protectors and even up-cycling cereal boxes. Anything that can hold papers, small pieces and supplies is a candidate!
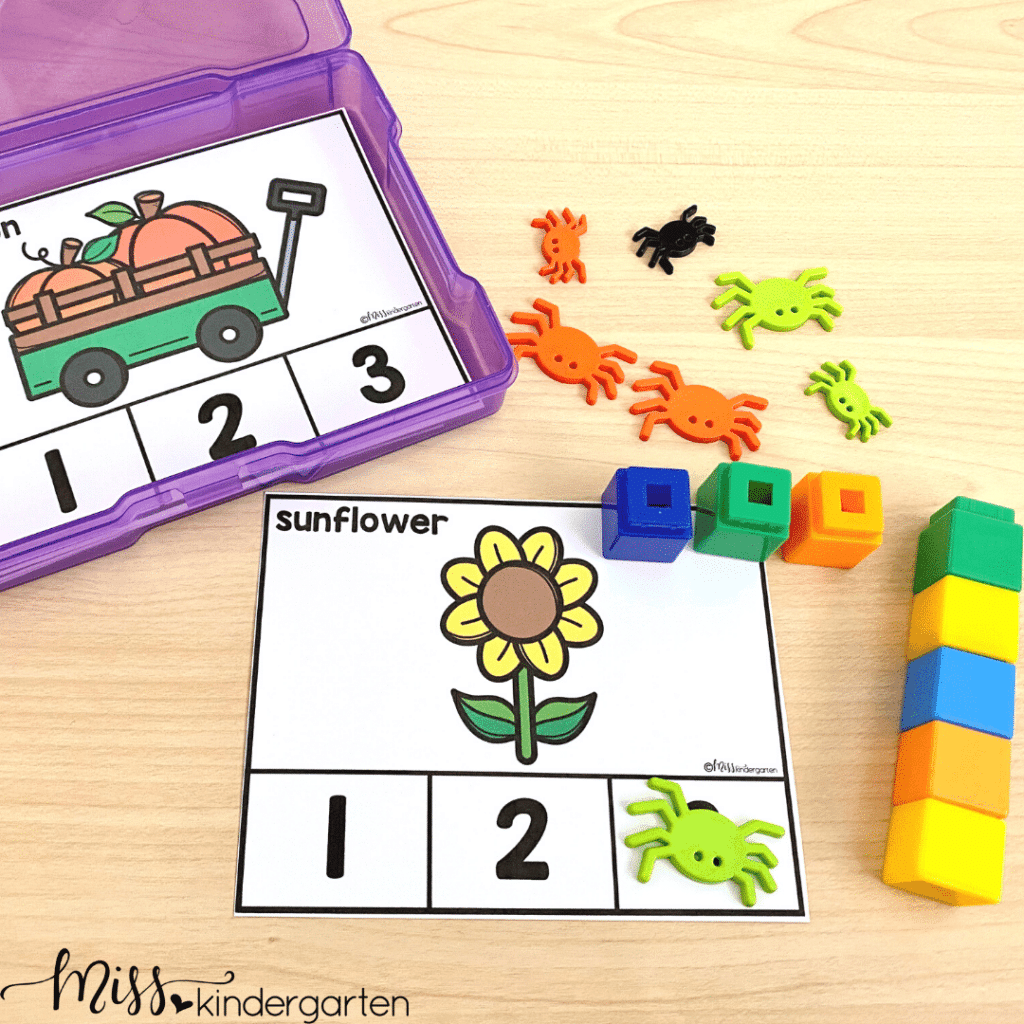
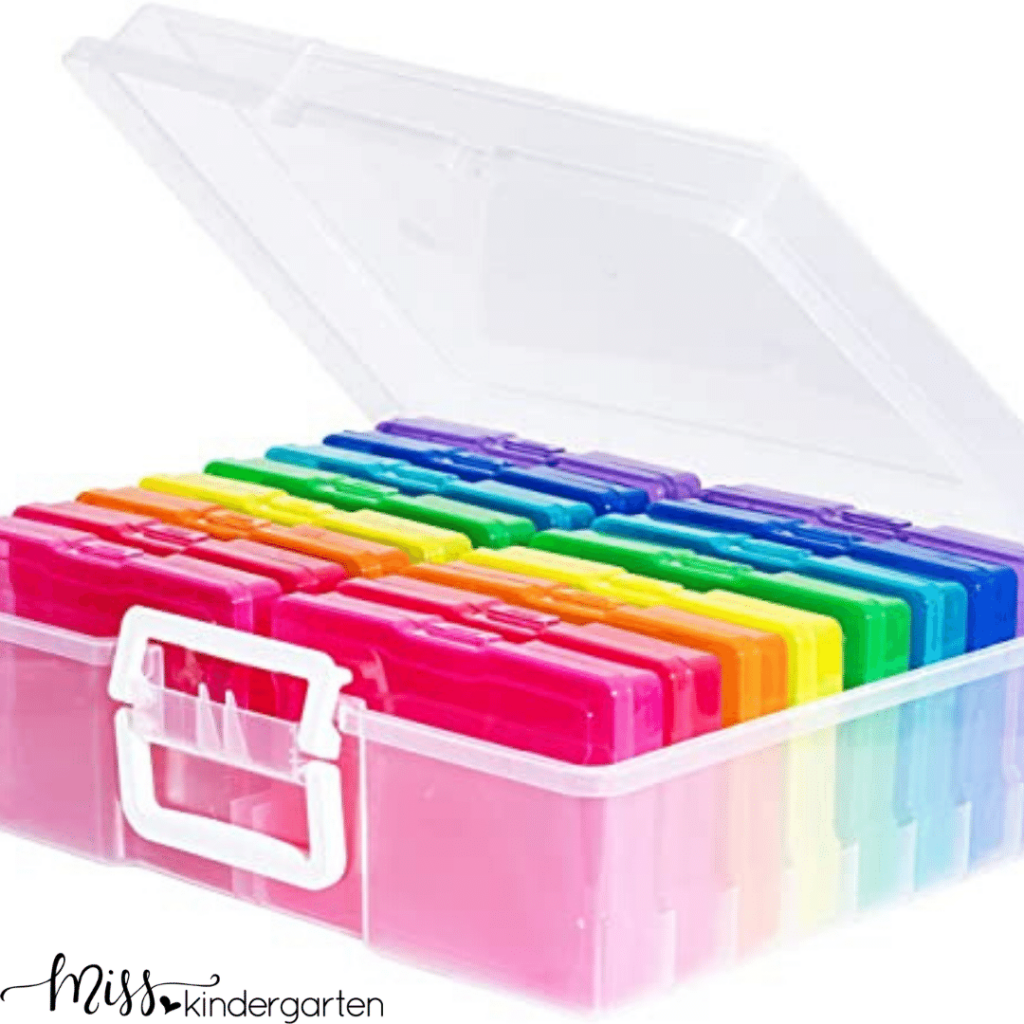
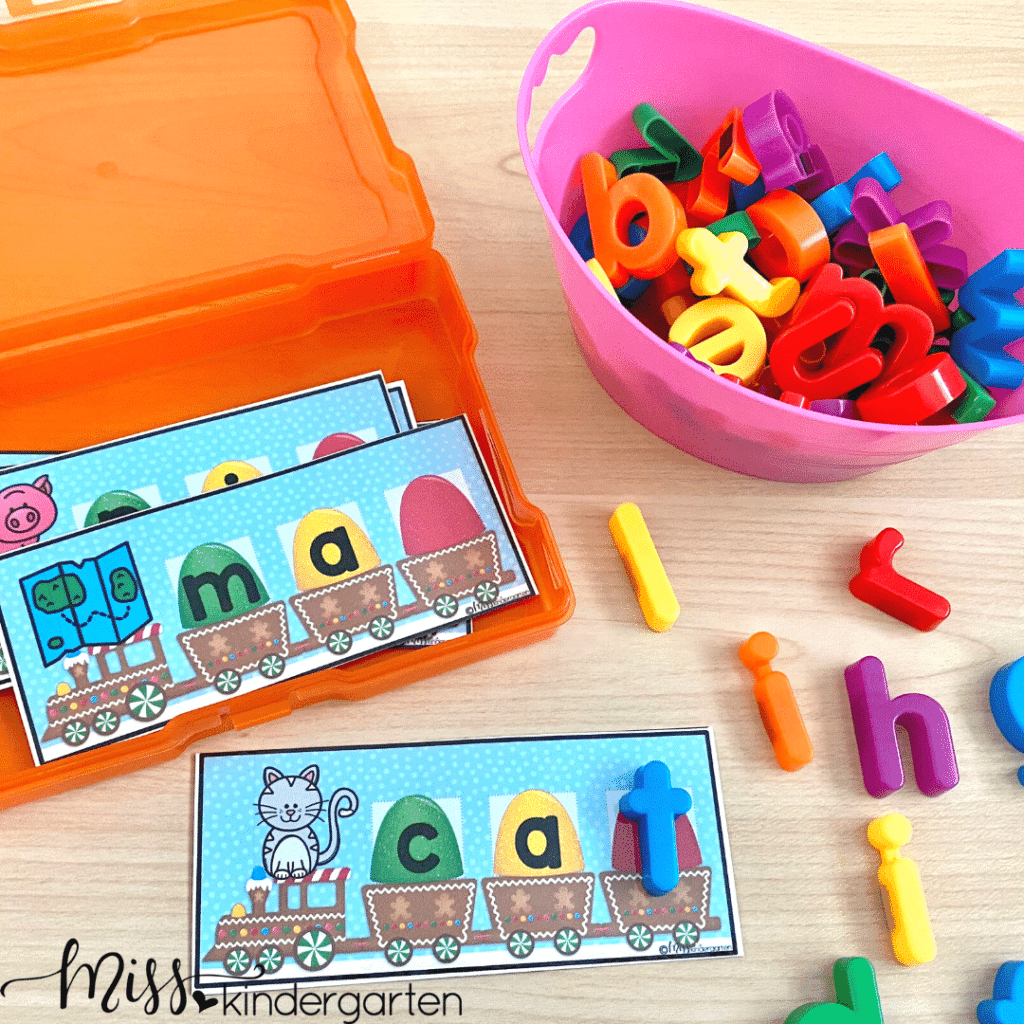
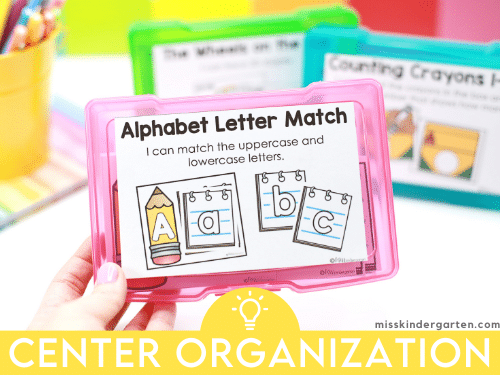
I personally like storage options that have a hard case and are stackable. This has included boxes, plastic containers and these 4 x 6 photo storage cases. These colorful photo cases are my favorite. I can fit everything I need inside the box.
For organizing centers with larger pages or pieces, I’ve found that gallon size zip-lock bags work well. I like to store all of the bags standing upright in a larger bin. Write the center name at the top of the bag and you have a great filing system.
Tip 3: Invest in Organization
It pays to invest in organization! Once you have everything organized you will save time and money because you will know just what you and just where to find it!
But, investing in organization doesn’t always mean lots of money. In fact, there are many ways you can invest with your time that will save money.
If you are looking for quick organization or a uniform look then investing in storage containers is probably your best bet.
If saving money is high on your priority list then consider looking around your home for unused boxes and bins or watch yard sales. Ask friends and family if they have any unused storage around their house.
Tip 4: Get Busy
Once you’ve developed your plan and gathered your storage containers you are ready to get busy organizing centers. You might choose to do this all at once by working over the summer or on a weekend. But you can also just decide that this school year is the organization timeline. As you buy new centers, or pull out old centers, set them up using the new organization system. By the end of the year you will have all your centers organized and ready to go for the future.
Start with the Activity
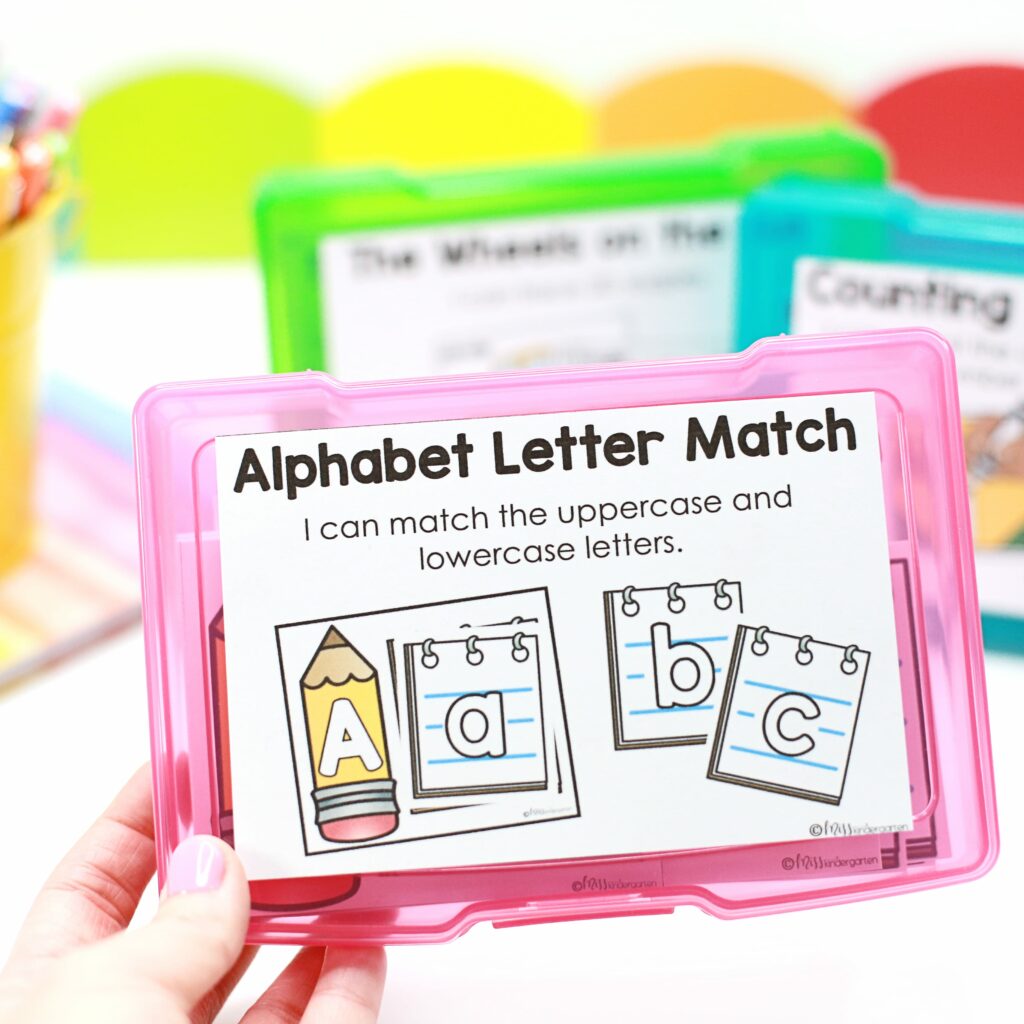
I always begin by giving each activity its own storage space. Whether it is a zip-lock bag or a photo box each activity has a place. Not only does this make it easy to put into the center rotation, but it also helps to keep all the pieces and supplies together.
Group Like Activities Together
Once the individual activities are finished then consider a second level of organization by grouping like activities together. You can group things by the month they are used or by academic skill or concept.
By grouping activities together in the way that works best for you, you can save yourself lots of time looking for activities.
Label, Label, Label
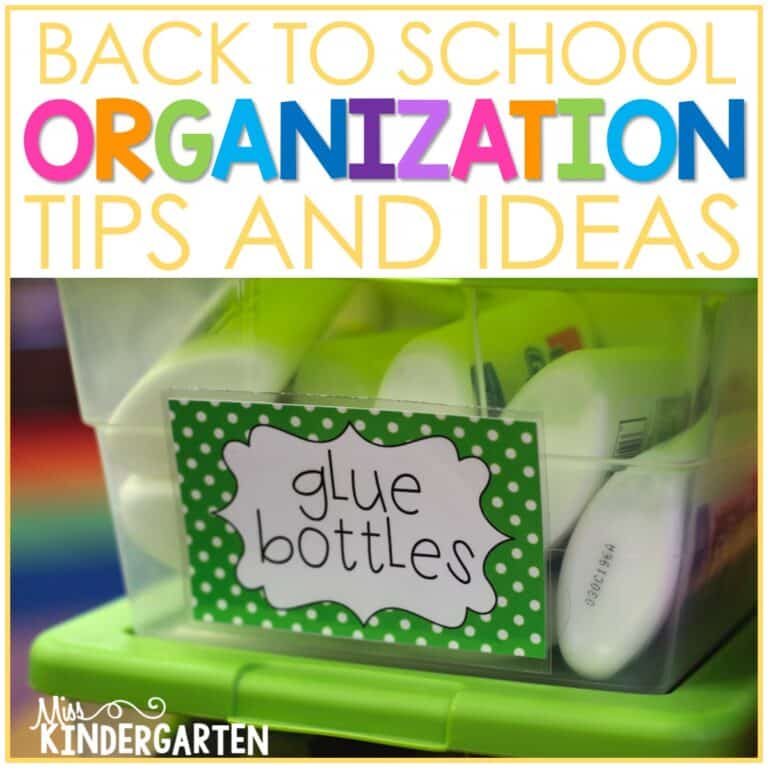
When it comes to organization, labels are so important. Label everything! It makes it so easy to find the right center or right skill when you can read the label. No more having to pull out all.the.things just to find what you are looking for.
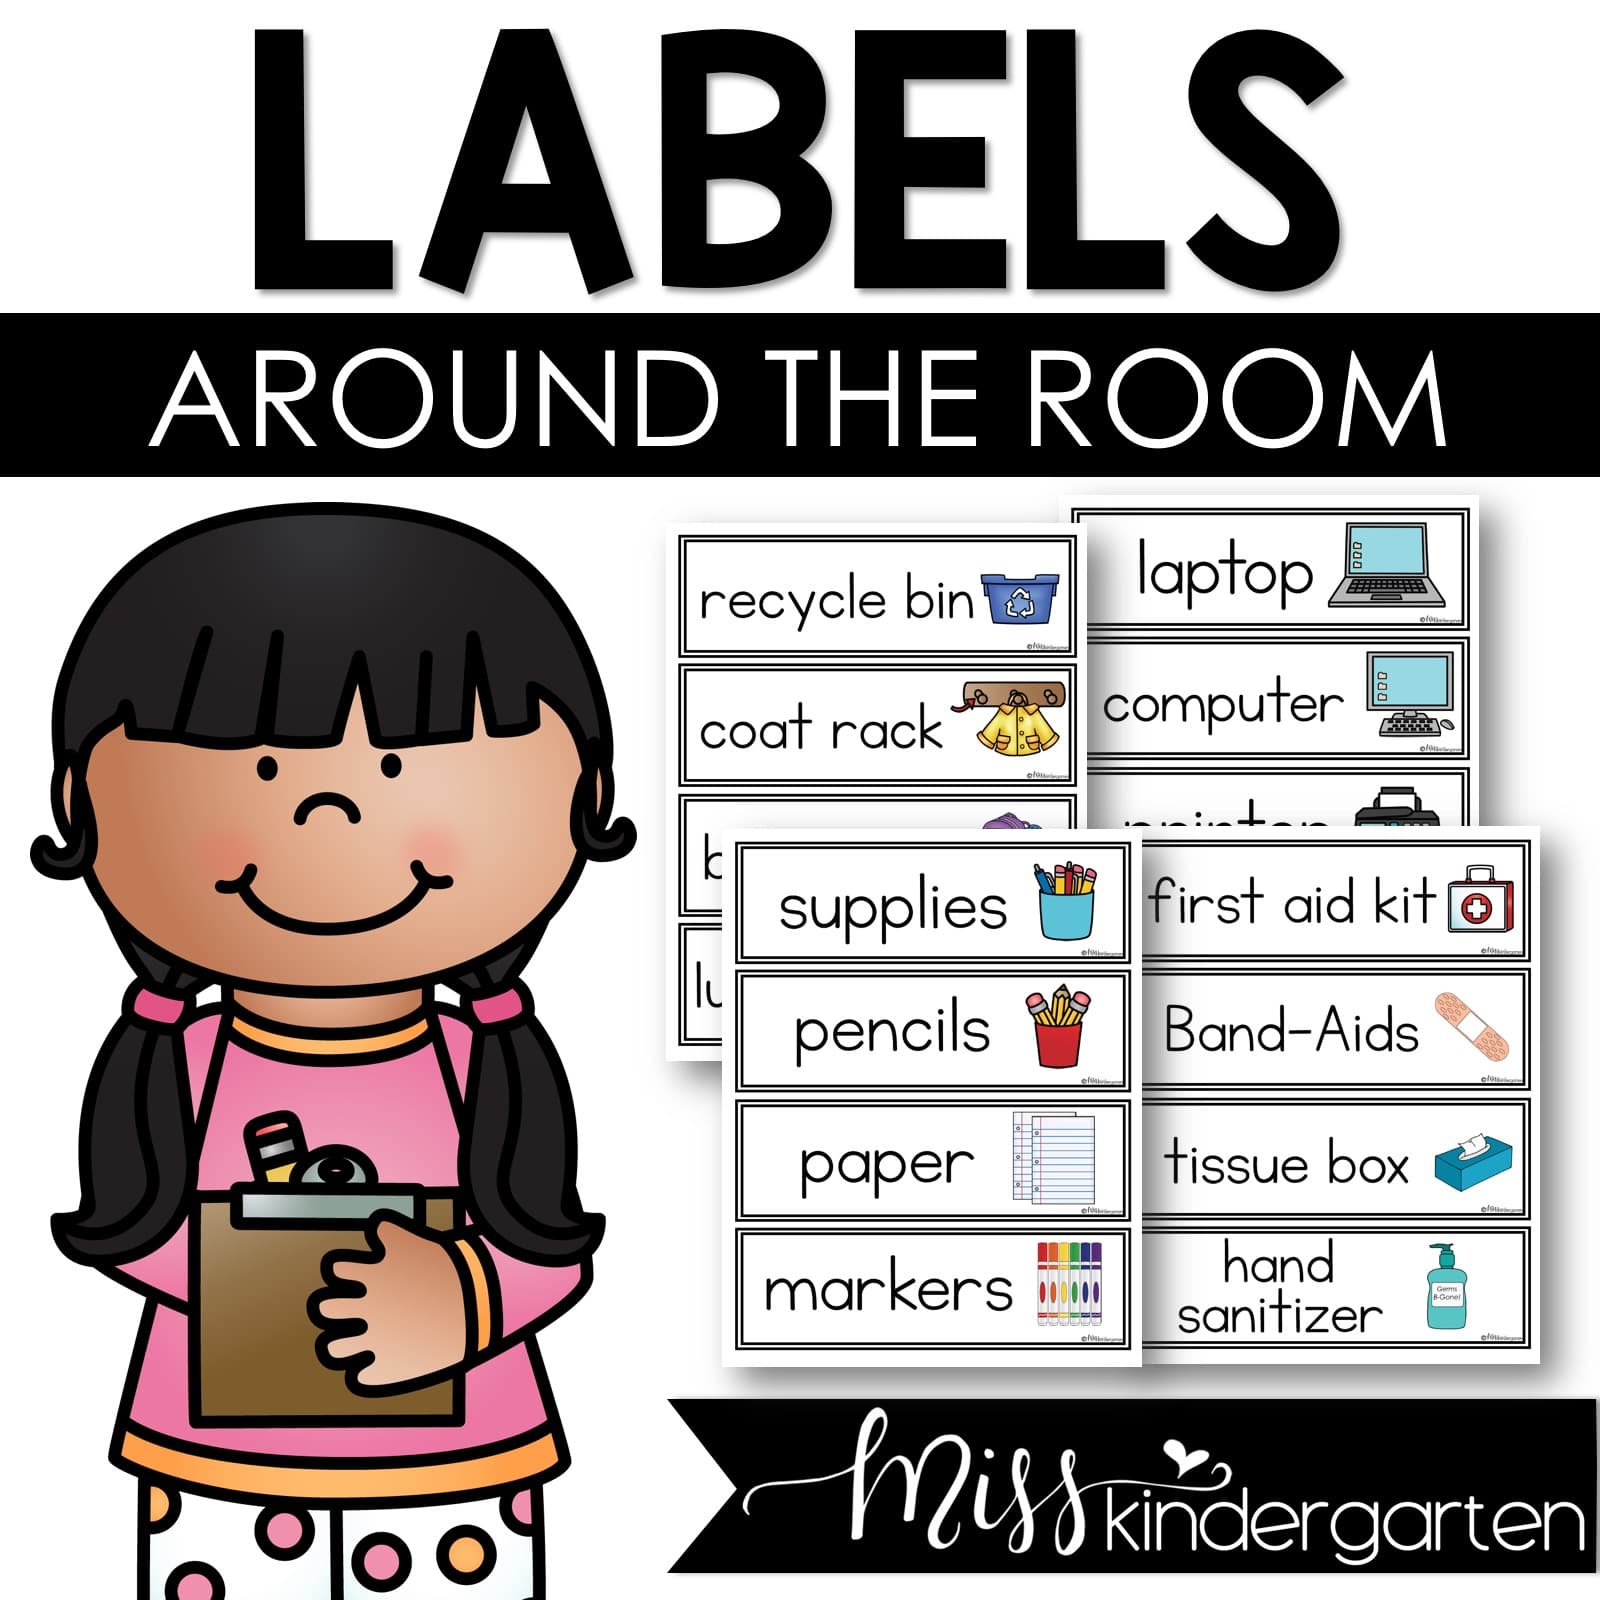
One of my favorite things to use when labeling in the classroom are these picture and word supply labels. Not only do they keep things organized, but they help my young readers too!
Whether you use these labels, printable labels or a Sharpie marker, make sure to label. They are a key part of organizing.
Classroom Labels with Pictures
Tip 4: Make a Master List
As you are organizing take the few extra seconds to add each center to a master list. You can keep this on paper or on your computer. I like to include the following information for each center on my master list:
- Name of the Center
- Skill
- Standards it covers
- Month, Season or Grading Period it is generally used
- Where it is stored
This simple list becomes an easy to use center database that comes in so handy. When you have a small group struggling with a certain skill you can quickly look up activities you have for that skill. Looking for a holiday or seasonal activity, you can find that too!
Looking for Easy to Organize Centers?
Over the years I have really simplified my classroom center activities. When I first started teaching my centers were hand-made with lots of parts and pieces. While I loved them, I was spending a lot of time creating centers, cutting pieces and then recreating pieces when some got lost. I knew that keeping this up for years and years to come was just not realistic.
Reuse Instead of Redo
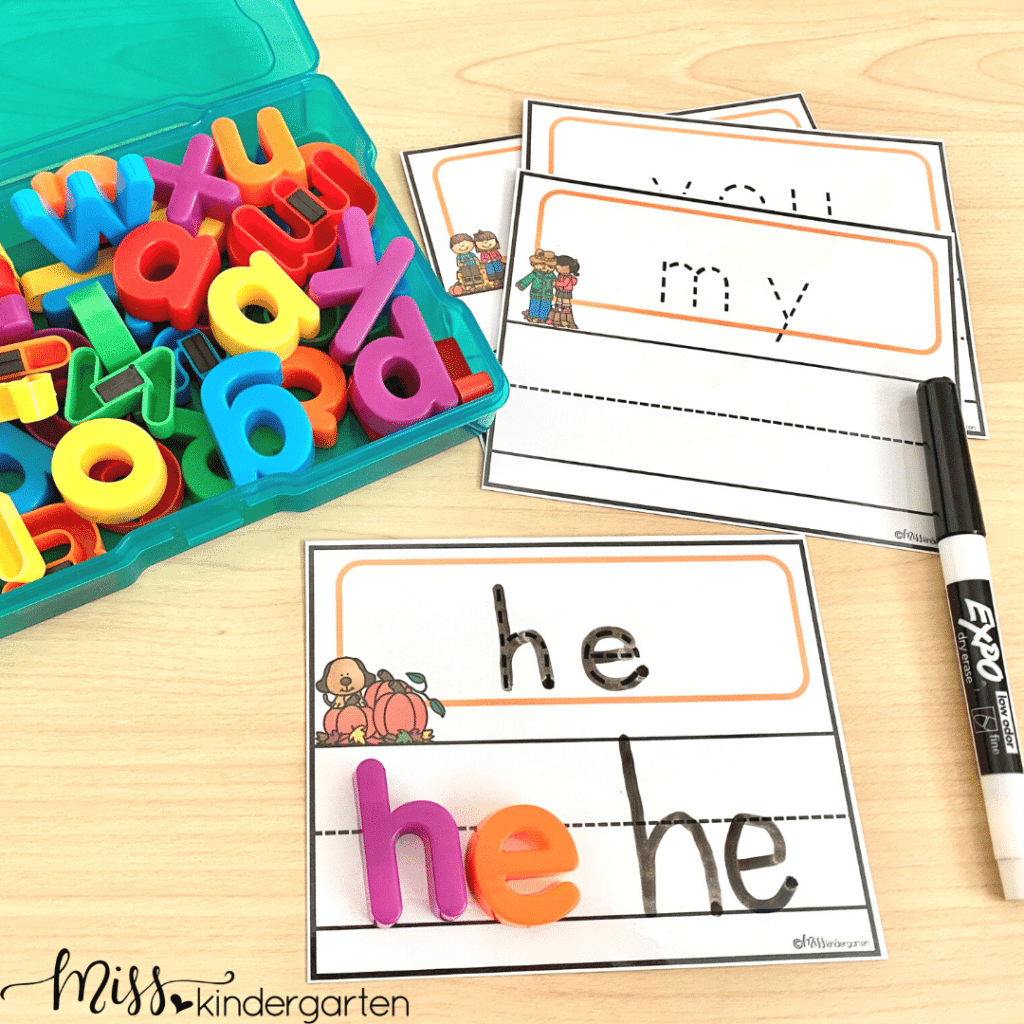
I started looking for ways to simplify without losing the fun, hands-on practice that my students needed. The first thing I did was using ‘generic’ manipulatives. By using plastic magnetic letters or math counters instead of printed, cardstock manipulatives that were different for every activity I saved hours and hours of time.
A Simple Change in Format
The next way I began to simplify was in size. With most centers being used by one or two people at a time, it was not necessary to have an elaborate activity that took up a lot of space. This saved me time in having to make these large center props. This also helped with storing and organizing centers too.
Task card style centers became my friend! Students could still have the same amount of practice by putting each activity on a smaller card. Instead of all the practice being on one page, students now worked on one card at a time.
Little Changes = Big Results
What happened transformed me as a teacher. I was no longer spending endless hours prepping centers, I was able to to spend more personal time with my family, and my students continued to thrive during centers.
I didn’t dread center time any longer and I could tell that I was no longer on that road to teacher burnout.
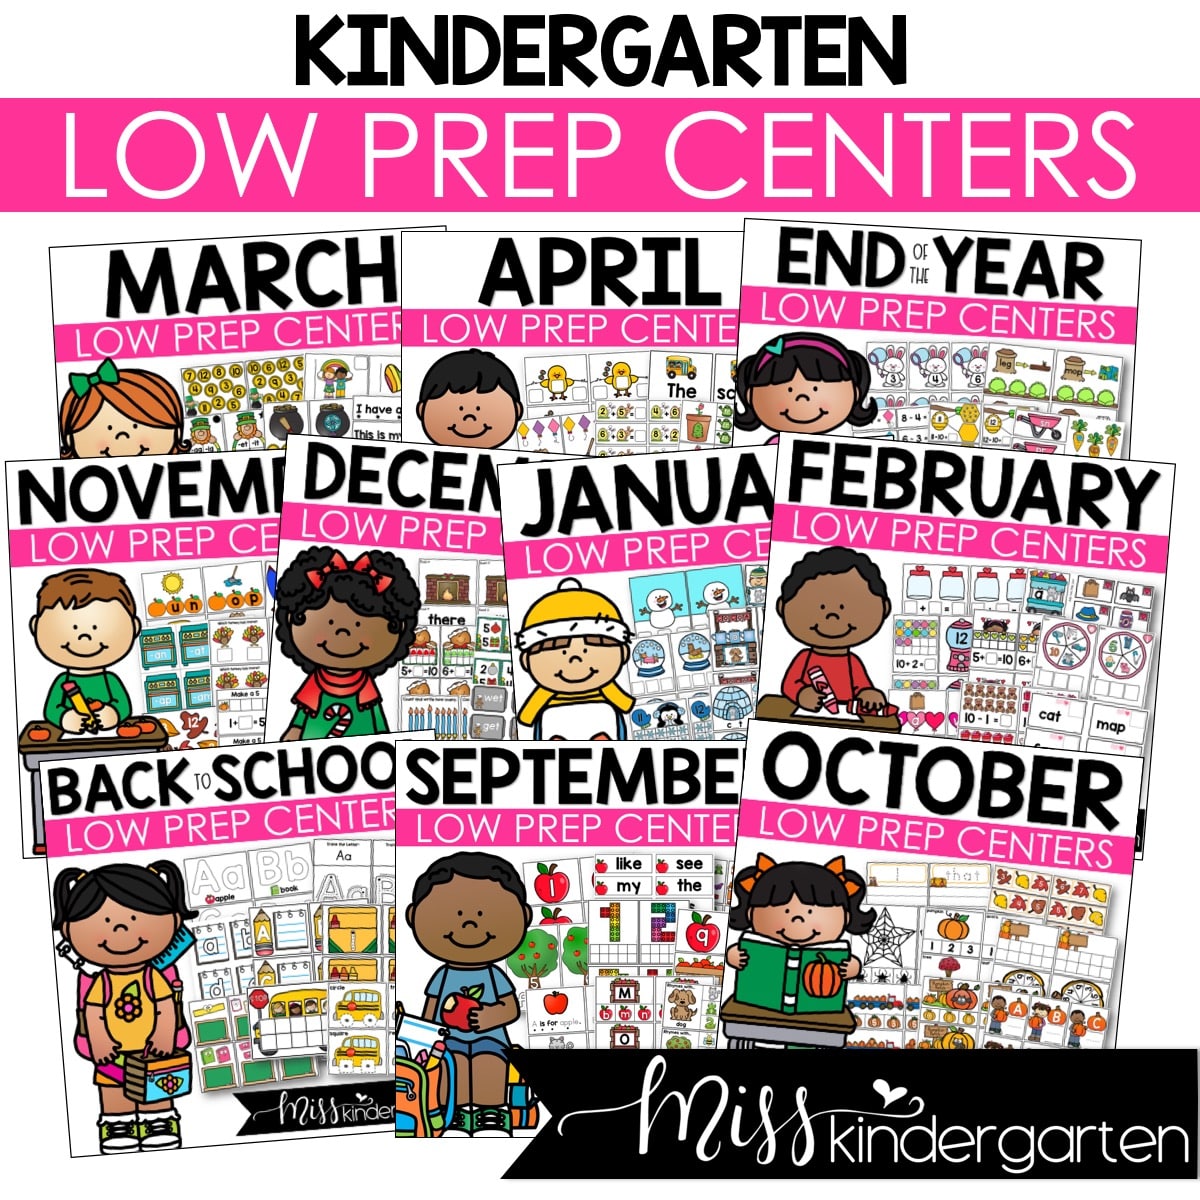
These new easy to organize, low prep centers became my go to! If you are looking for a simpler way to do centers then these Low Prep Math and Literacy Centers are for you.
Low Prep Kindergarten Centers Year Long Bundle
You can even try some for free here!
FREE LOW PREP CENTERS!
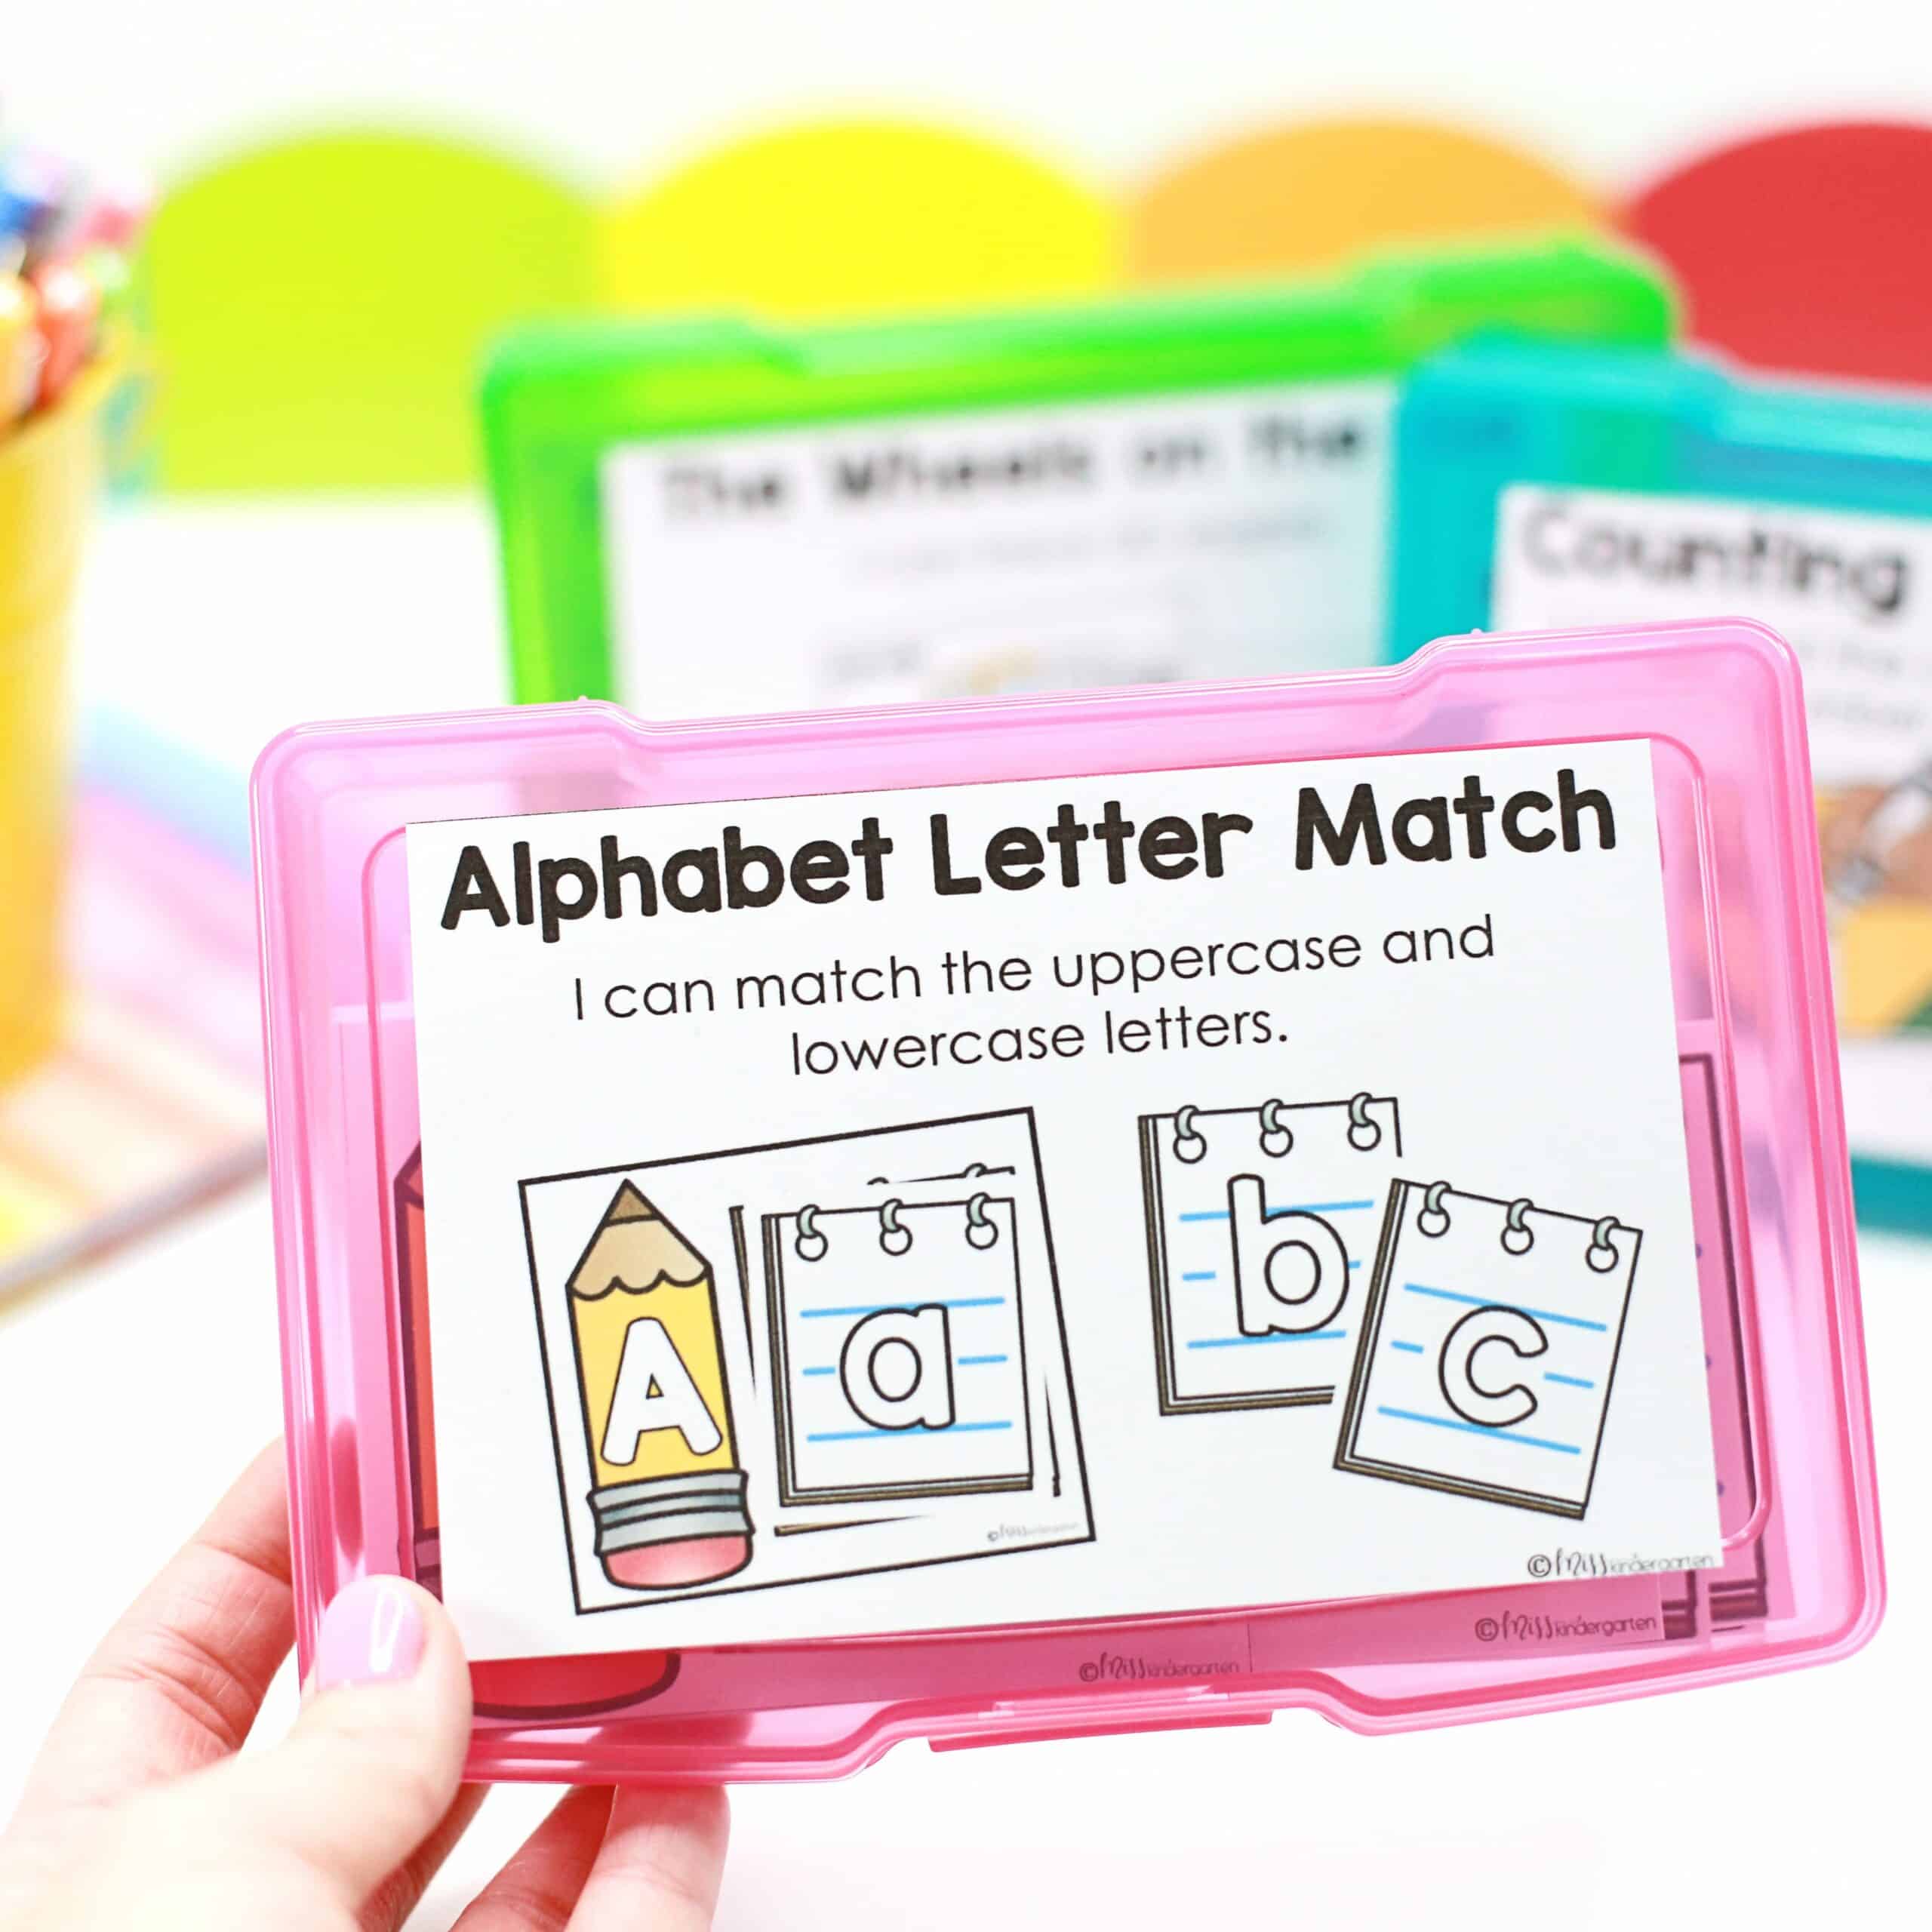
If the thought of planning and prepping centers has you feeling extremely overwhelmed, then these low-prep centers are EXACTLY what you need! They’re so easy to prep, you could use them tomorrow! Click the button below to sign up for the free download.
Take Back Your Time and Space
Centers are an important and valuable part of learning in the classroom. Prepping and organizing them doesn’t have to seem like a hassle or a chore. By following these center organization ideas you can take back your time and classroom space.
Looking for more information on centers in the primary classroom? Visit this Center page for all things centers in one easy to find place.
Save These Center Organization Ideas
Be sure to save this post to your favorite classroom Pinterest board.


