I’m Done! Now What? Stations for Kindergarten
In a kindergarten classroom, there is a very wide range in the time it takes for young students to complete their classwork. When students come up to you and say, “I’m done! Now what?” it can be challenging to answer this question on the spot while also supporting other students who are still working. In this post, I’m going to share how Early Finisher Stations can work wonders in your classroom!
How to Create “I’m Done! Now What?” Stations
I’ll walk you through the process I went through to create my early finisher stations, so you can give them a try in your classroom! They are a great way to help your classroom run more smoothly.
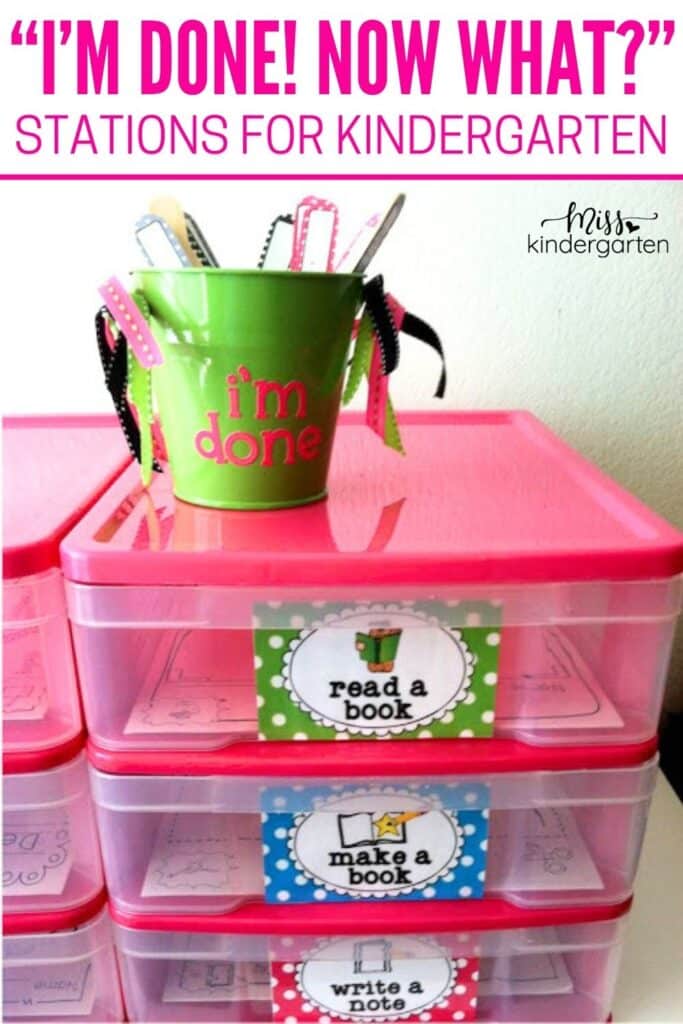
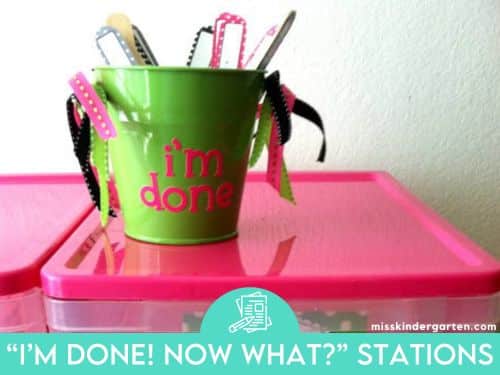
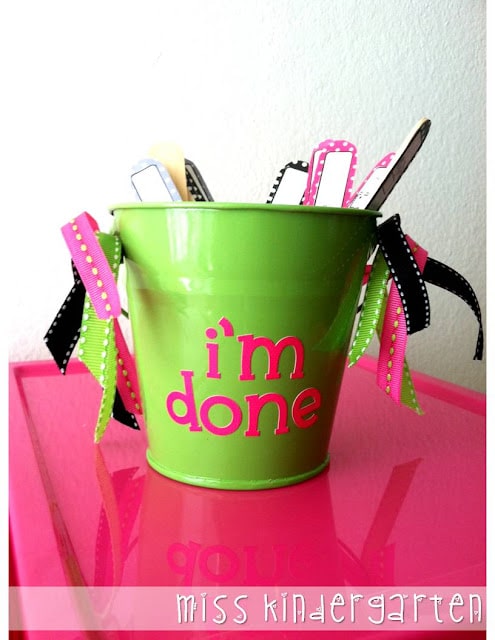
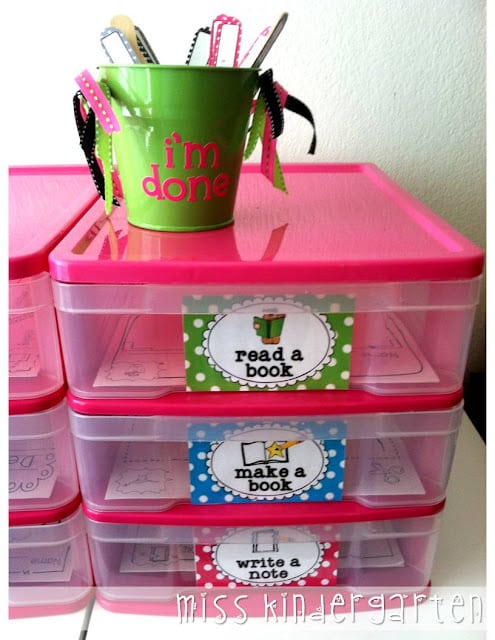
Step One: Create a Choice Jar
The first step is to create a jar with the early finisher choices. Giving students activity choices can help make it more engaging for them, but it’s not uncommon for them to spend all of their extra time trying to decide what to do!
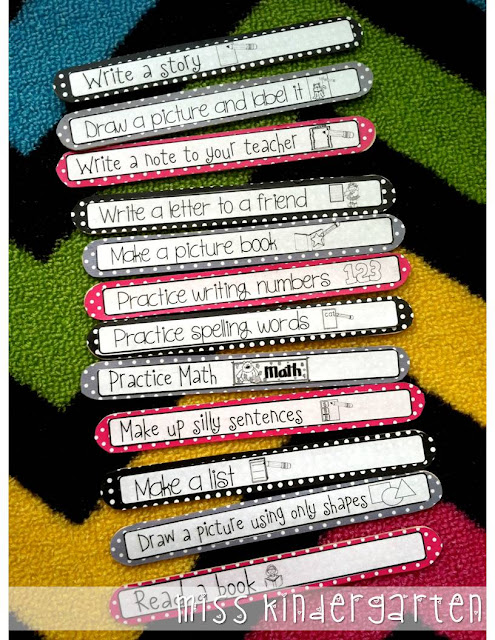
That’s where the choice jar comes in handy. You can put popsicle sticks in a jar with all of the current early finisher options. You can also add an image to the popsicle stick for any non-readers in your classroom. It’s helpful to put a smaller number of sticks in the jar at once. That way, you can keep things fresh for students by swapping out the activity options.
When students finish their assignments, they can choose a popsicle stick out of the jar and complete the corresponding activity. This is a small thing that makes a big difference for student engagement because they’re always excited to see what they pull out of the jar. It also prevents indecision, so students can transition more quickly to their early finisher activity.
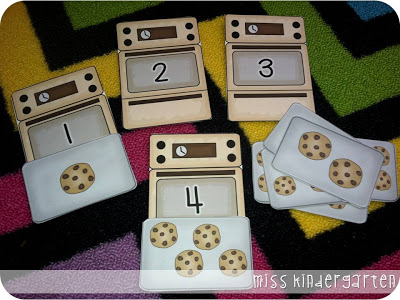
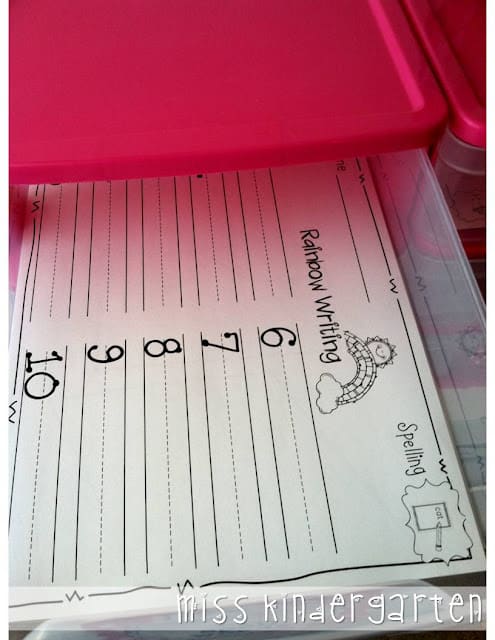
Step Two: Set Up the Drawers
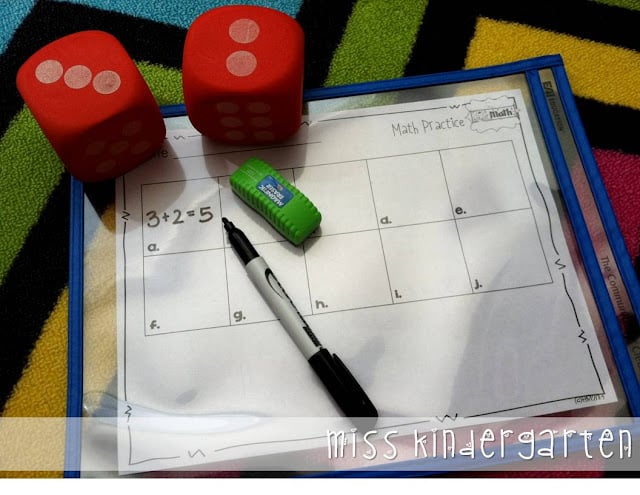
The next step is to set up the drawers where students can find the materials for their chosen activity. Each drawer contains the recording sheet to keep students accountable for the work they’re doing. The drawer can also contain anything else that students will need to complete the activity listed on one of the popsicle sticks. You can also put the activities in a sheet protector to save paper. Then students can complete them using a dry-erase marker for another element of engagement.
Once you have loaded up the drawers with the chosen activities, it’s time to label them! You can print and laminate labels for the plastic drawers to keep things organized so students can easily find what they need. I suggest attaching the labels with double-sided tape so that they’re easy to remove when you want to switch them out.
The labels that I use have visual icons that match the popsicle sticks and the recording sheets. This consistency makes it easier for all students to navigate the stations independently.
Step Three: Introduce the Activities
The goal of early finisher activities is for students to independently transition from their main assignment to another meaningful activity. Not only does this keep students learning, but it also gives you time to work with students who need extra support on the classroom task.
As we know, it takes some modeling and teaching before kindergarteners can complete tasks independently. Early finisher activities are no exception! Whenever you have new activity options for students to choose from, it’s helpful to model the activities so that students will know what to do. It’s also a good idea to put a completed example sheet in the station as a reference.
The activities that are harder for students to complete independently without being explained first can be done together as a class before putting them in the drawers. For example, reading response sheets can be challenging for students. These can be completed together as a class after a read-aloud. Once you’ve modeled the process three or four times, students are able to complete it by themselves as an early finisher activity.
It’s also important to teach the procedures involved in the early finisher station. For example, you might want to remind students that they need to check off their must-do task with you before they go to the “I’m done! Now what?” station. This can make sure that students are taking their time on their classwork and not just rushing to the early finisher activities.
Step Four: Have a Plan for Unfinished Activities
Students will visit the “I’m done! Now what?” station with varying amounts of time left. Due to this, you’ll discover that some students won’t have a lot of their recording sheet completed when it’s time to move on. This could leave students collecting half-finished tasks from the station.
To prevent this, you can have a plan for what students should do if they run out of time for their early finisher activities. In my classroom, I always had students put unfinished recording sheets in their “finish it folder” and take them out the next time they had extra time. Students keep these folders in their cubbies with work that needs to be completed. It’s part of the classroom routine to check their “finish it folders” before they choose a new stick from the “I’m Done! Now What?” jar.
That’s all it takes to set up meaningful and engaging activities for students to work on when they have extra time! The best part of these stations is that you can easily switch out the activities based on the skills your students need to practice and the tasks that hold their attention!
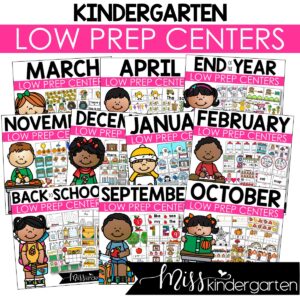
Printable Early Finisher Stations
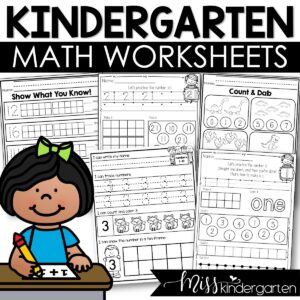
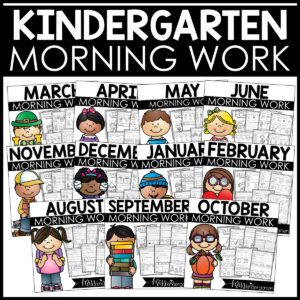
Are you planning an “I’m Done! Now What?” station in your classroom? I can save you some time! I’ve created a set of coordinating recording sheets and labels that are ready to print and assemble. Just click below to take a closer look at everything included in this set of Early Finisher Activities for Kindergarten.
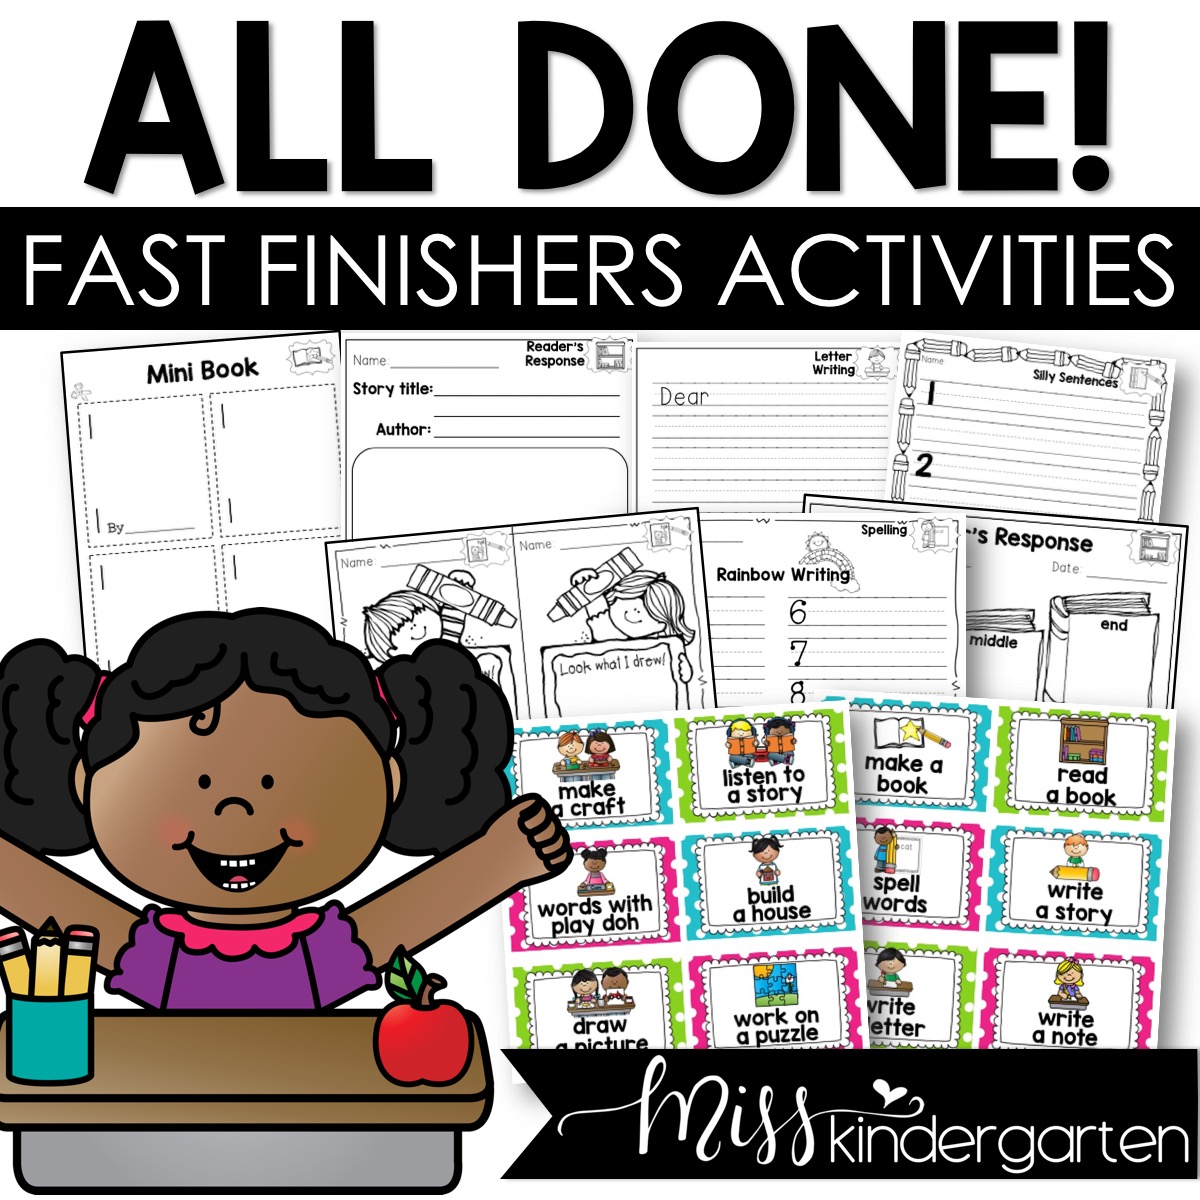
Classroom Management Tool Fast Finishers Activities
Save These “I’m Done! Now What?” Tips for Kindergarten
Be sure to save this post if you’d like to come back to it later! Just add the pin below to your favorite board of kindergarten ideas on Pinterest. You’ll be able to quickly find these tips and resources when you’re looking for engaging activities for the early finishers in your classroom.