DIY Classroom Library Sticks #MakeAmazing
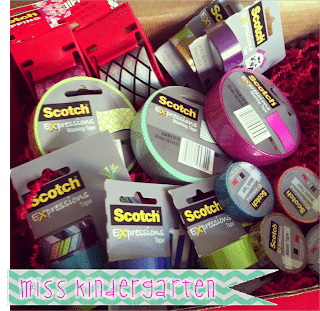
Something about the end of the year approaching always has me thinking about what I want to organize, plan, rearrange and try differently for next year! So when Scotch asked me to create an organizational project using their adorable Expression Tapes, I knew exactly what I wanted to create for next year!

Materials Needed:
Scotch® Expressions Washi Tape in desired colors and patterns {this project uses Colorful Triangles, Wrapped, Pink Quatrefoil and Tie}
Scotch® Expressions Magic™ Tape in desired colors and patterns {this project uses Black, Turquoise, Circles and Circus}
Paint Stirrers {one for each student in your class}
Decorative Numbers {these are from the adorable Mrs. Cupcake!}
Completing the Project:
Step 1: Start with a solid piece of expressions tape and lay it across the top of the paint stirrer.
Step 2: Wrap the tape all the way around the stirrer, leaving a little gap between each wrap.
Step 3: Choose some coordinating tapes as accents.
Step 4: Cut off a piece of tape, about 2 inches long, and use it to cover the gap.

Step 5: Continuing alternating the tape designs until you complete your desired look.
Step 6: Cut out the decorative numbers. I laminated them for durability.
Step 7: Using double sided tape {I find it sticks the best, but you can experiment with different adhesives} to attach the laminated number to the stick.
Finally, put the sticks in a cut little container for your students to use when picking out a book.

These little sticks really help keep your classroom books organized! When a student takes a book from your class library, they place their numbered stick in its spot. Happy organizing!

This post is brought to you by Scotch®. All opinions are mine.